Fig Cream Cheese Bars: Silky and Layered
- Time: Active 25 minutes, Passive 45 minutes, Total 70 minutes
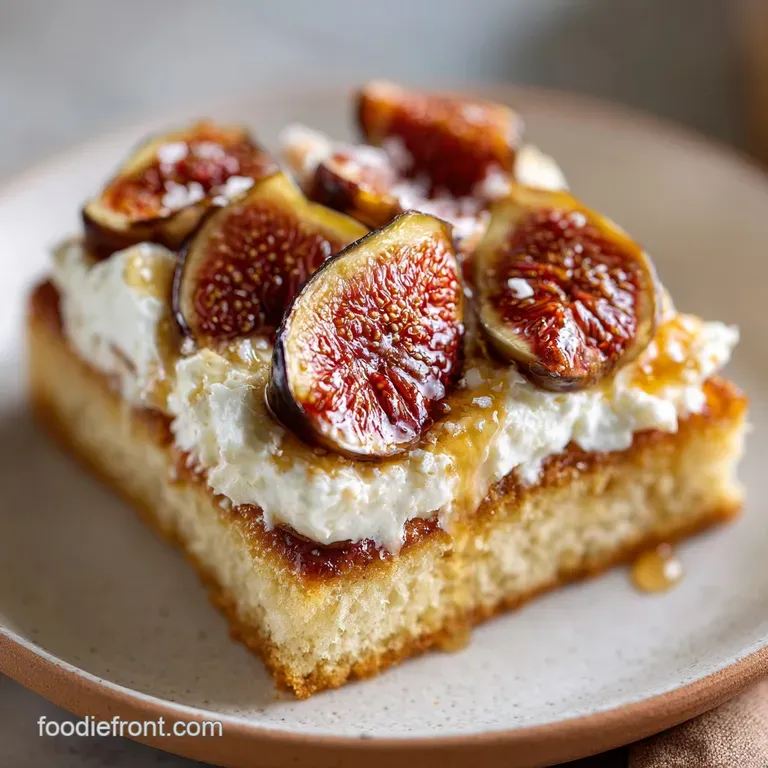
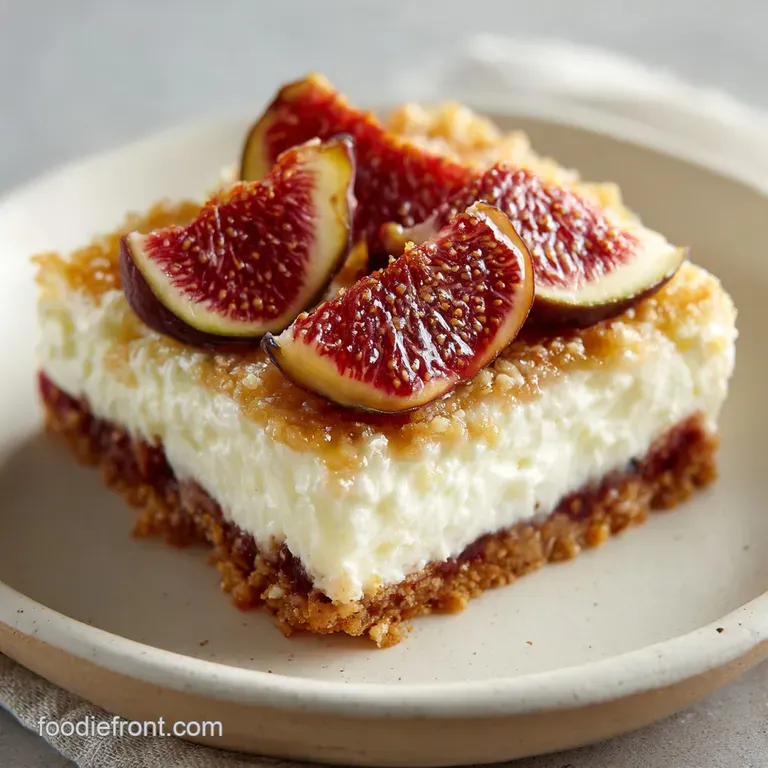
- Flavor/Texture Hook: A shatter crisp crust topped with jammy, honeyed figs and a silky, lemon kissed cheesecake layer.
- Perfect for: Afternoon tea, impressive garden parties, or a refined weekend dessert.
- Irresistible Homemade Fig Cream Cheese Bars Recipe
- Why These Textures Pair So Well
- The Secret Behind Every Ingredient
- The Necessary Elements for Success
- Tools For Professional Dessert Results
- Step By Step Baking Instructions
- Fixing Common Baking Mistakes Quickly
- Adjusting for Yield and Batch Size
- Debunking Common Baking Myths
- Keeping Your Bars Fresh Longer
- Presentation Tips For Special Occasions
- Recipe FAQs
- 📝 Recipe Card
Irresistible Homemade Fig Cream Cheese Bars Recipe
The smell of bubbling figs and honey hitting a hot pan is something you never forget. It starts as a bright, grassy scent and slowly transforms into a deep, caramelized aroma that fills every corner of the kitchen.
I remember the first time I tried making these, I was worried the balsamic glaze would be too savory, but the way it interacts with the natural sugars in the fruit is pure magic. It provides a sharp, sophisticated edge that keeps the bars from feeling cloyingly sweet.
You know that feeling when you bite into a dessert and it's just one note? We are avoiding that here. We want the crunch of the shortbread to hit first, followed by the sticky, jammy middle, and finally that cool, tangy cream cheese finish.
It is a texturally complex experience that makes people think you spent hours in the kitchen, even though the food processor does most of the heavy lifting for the base.
Right then, let's talk about the payoff. These bars are sturdy enough to hold in your hand at a party but elegant enough to serve on a plate with a little extra lemon zest. They look like a sunset once you swirl those layers together, with deep purples from the figs bleeding into the ivory cream cheese.
It is a quick win for anyone who wants to impress without the stress of a full multi layer cake.
Why These Textures Pair So Well
The secret to why these bars feel so professional lies in the moisture management between the three distinct layers. If we just threw raw figs onto dough, the base would turn into a soggy mess, but by reducing the fruit into a thick jam first, we concentrate the flavor and protect the crust.
Evaporative Concentration: Simmering the figs with honey and lemon juice removes excess water, which prevents the shortbread from absorbing moisture and becoming limp during the second bake.
Fat Insulation: The high ratio of cold butter in the crust creates a waterproof barrier that keeps the shortbread shatter crisp even under the weight of the creamy topping.
Protein Stabilization: Using a room temperature egg in the cheese layer ensures the proteins bond quickly, creating a velvety set that doesn't weep or separate.
Stovetop vs Oven Fig Prep
| Method | Texture Result | Flavor Profile | Best For |
|---|---|---|---|
| Stovetop Simmer | Thick, spreadable jam | Deeply caramelized and concentrated | This specific bar recipe |
| Oven Roasting | Whole, softened fruit | Bright and slightly floral | Topping toast or salads |
| Raw Slicing | Firm and fibrous | Fresh but can be watery | Fresh tarts or garnishes |
Preparing the fig layer on the stovetop is the non negotiable step that ensures your bars have that intense, jammy punch. It allows the balsamic glaze to meld with the fruit fibers in a way that roasting simply cannot achieve.
This method also gives you total control over the thickness, ensuring the middle layer stays exactly where you put it without sliding out when you take a bite.
The Secret Behind Every Ingredient
Understanding how these components interact is what turns a basic cook into a confident baker. We aren't just mixing things together, we are building a structure that relies on specific temperatures and ratios to succeed.
| Component | Science Role | Pro Secret |
|---|---|---|
| Cold Cubed Butter | Creates steam pockets for a flaky, shatter crisp texture | Freeze the cubes for 10 minutes before pulsing into the flour |
| Balsamic Glaze | Acts as a pH balancer to brighten the heavy fats | Use a thick glaze rather than thin vinegar to avoid excess liquid |
| Full fat Cream Cheese | Provides the structural lipids for a silky, set finish | Always use the block form, never the whipped tub variety |
| Vanilla Bean Paste | Adds visual "specks" and a deeper aromatic profile | Swap for extract if needed, but the paste offers a more intense aroma |
The vanilla bean paste is a small luxury that makes a massive difference in the cream cheese layer. Those tiny black seeds tell your guests that this isn't just a basic cheesecake topping. If you find yourself enjoying these creamy textures, you might also love the way cottage cheese can be transformed into a silky chocolate mousse for a lighter snack.
The Necessary Elements for Success
- 1.5 cups (190g) All purpose flour: This provides the structural foundation for our shortbread.
- 0.5 cup (100g) Granulated sugar: Used in the base to help with browning and sweetness.
- 0.75 cup (170g) Unsalted butter, cold and cubed: The key to a flaky, crisp crust.
- 0.5 tsp Sea salt: To balance the sugars and enhance the fig flavor.
- 1 tsp Vanilla bean paste: For that premium aromatic finish in the base.
- 2 cups (300g) Fresh figs, stemmed and quartered: The star of the show.
- 2 tbsp Honey: Adds a floral sweetness and helps the jam thicken.
- 1 tbsp Balsamic glaze: For a sophisticated, tangy counterpoint.
- 1 tbsp Fresh lemon juice: To brighten the fruit and provide pectin activating acid.
- 8 oz (225g) Full fat cream cheese, softened: The base of our silky swirl.
- 0.25 cup (50g) Granulated sugar: To sweeten the cheese layer.
- 1 Large egg, room temperature: To bind the cheesecake and help it set.
- 1 tsp Lemon zest: For a fresh, citrusy aroma that cuts the richness.
| Original Ingredient | Substitute | Why It Works |
|---|---|---|
| Fresh Figs | Fig Jam (high-quality) | Skips the simmering step. Note: Reduce added honey by half to avoid over sweetening |
| Vanilla Bean Paste | Vanilla Extract | Same flavor profile, though you lose the aesthetic black specks |
| Balsamic Glaze | Red Wine Vinegar + 1 tsp Sugar | Mimics the acidity but lacks the thick, syrupy texture |
Using high-quality cream cheese is vital because the water content in lower fat versions will cause the bars to crack or become grainy. If you're a fan of traditional European style baked goods, this recipe shares a lot of DNA with a German cheese cake which focuses on a dense yet smooth texture.
Tools For Professional Dessert Results
To get those clean, sharp edges on your Fig Cream Cheese Bars, you really need an 8x8 inch square baking pan. I always line mine with parchment paper, leaving an "overhang" on two sides.
This acts like a sling, allowing you to lift the entire block of bars out of the pan once they are chilled, which makes slicing so much easier.
A food processor is your best friend for the crust. It cuts the butter into the flour much faster than your hands could, which prevents the butter from melting. If the butter stays cold until it hits the oven, it creates tiny steam vents that lead to a flaky, shatter crisp base.
If you don't have one, a pastry cutter or two knives will work, just keep everything as cold as possible.
Finally,, an offset spatula is the secret weapon for that beautiful swirl. It allows you to move the cream cheese dollops around without disturbing the fig layer too much. You want a gentle "S" motion to create those marbled patterns.
If you go too far, the colors will muddy together and you'll lose that striking visual contrast.
step-by-step Baking Instructions
- Preheat your oven to 350°F (175°C). Line an 8x8 inch pan with parchment paper, ensuring there is a slight overhang for easy removal later.
- Place 1.5 cups (190g) all purpose flour, 0.5 cup (100g) granulated sugar, and 0.5 tsp sea salt into your food processor. Pulse a few times to combine.
- Add 0.75 cup (170g) cold, cubed unsalted butter and 1 tsp vanilla bean paste. Pulse until the mixture looks like coarse sand with pea sized bits of butter remaining. Note: Over processing will make the crust tough instead of flaky.
- Firmly press the dough into the bottom of the prepared pan. Bake for 15–18 minutes until the edges are barely golden and the center is set.
- While the base is par baking, combine 2 cups (300g) quartered figs, 2 tbsp honey, and 1 tbsp lemon juice in a heavy saucepan over medium heat. Simmer for 10–12 minutes, mashing the fruit with a fork until it becomes a thick, bubbling jam.
- Remove the fig mixture from the heat and stir in 1 tbsp balsamic glaze. Set aside to cool slightly.
- In a clean bowl, beat 8 oz (225g) softened cream cheese and 0.25 cup (50g) sugar until smooth. Add 1 room temperature egg and 1 tsp lemon zest, mixing until the batter is silky and fully emulsified.
- Spread the warm fig reduction evenly over the par baked crust. Dollop the cream cheese mixture over the top in 5 or 6 spots.
- Use a knife or offset spatula to gently swirl the cheese and fig layers together. Bake for another 25-30 minutes until the cheesecake layer is firm to the touch but still has a slight jiggle.
- Allow the bars to cool at room temperature for 1 hour, then refrigerate for at least 4 hours. Slice into 16 squares once completely chilled.
Chef's Tip: For the cleanest cuts, wipe your knife with a warm, damp cloth between every single slice. This prevents the cream cheese from smearing across the dark fig layer.
Fixing Common Baking Mistakes Quickly
The most common issue people face is a "soggy bottom" where the crust feels soft and doughy rather than crisp. This usually happens if the fig reduction isn't thickened enough or if the crust wasn't par baked long enough. You want that crust to feel dry to the touch before you add the toppings.
Why Your Crust Crumbles
If the crust falls apart when you try to slice it, you likely didn't press it firmly enough into the pan. You really need to use the bottom of a flat measuring cup to pack that flour and butter mixture down. It should look like a solid sheet of dough before it goes into the oven.
| Problem | Root Cause | Solution |
|---|---|---|
| Cheesecake layer cracked | Over beating the egg | Mix on low speed and stop as soon as the egg is incorporated |
| Fig layer is runny | Not enough reduction time | Simmer for an extra 3 minutes until a spoon leaves a trail in the pan |
| Crust is pale and soft | Under baking during par bake | Ensure edges are distinctly golden brown before removing from oven |
Common Mistakes Checklist
- ✓ Ensure the cream cheese is truly at room temperature before mixing to avoid lumps.
- ✓ Pat the fresh figs dry after washing to prevent adding extra water to the jam.
- ✓ Don't skip the parchment paper sling - it's the only way to get these out cleanly.
- ✓ Let the bars chill for the full 4 hours; the texture changes significantly as it cold sets.
- ✓ Use "full fat" block cream cheese for the best structural integrity.
Adjusting for Yield and Batch Size
If you are hosting a larger gathering, you can easily double this recipe for a 9x13 inch pan. When doubling, keep the baking temperature at 350°F (175°C), but you will likely need to increase the second bake time by about 5-8 minutes.
Because there is more surface area, keep a close eye on the center of the cheesecake layer to ensure it sets properly.
For those wanting a smaller treat, you can halve the recipe and use a standard loaf pan. When halving, the prep is much faster. You'll need to beat the egg in a small bowl first and then use exactly half of it (about 2 tablespoons) to keep the ratios correct.
A half batch usually takes about 5 minutes less in the final bake, so start checking for doneness early.
If you are scaling up for a party, these bars hold their shape beautifully at room temperature for about two hours, making them great for buffet tables. Just make sure to keep them out of direct sunlight so the cream cheese layer doesn't get too soft.
Debunking Common Baking Myths
One myth I hear all the time is that fresh figs are too delicate to cook down. People think they will lose all their character, but the opposite is true. Cooking them concentrates their honey like flavor and turns the skins into a soft, edible part of the jam. You don't need to peel them!
The skins actually provide a nice bit of texture and a beautiful deep color to the bars.
Another misconception is that you need to beat the cream cheese at high speed to get it "fluffy." For a cheesecake topping like this, air is actually your enemy. High speed mixing incorporates air bubbles that expand in the oven and then collapse, which is the number one cause of those deep cracks on the surface.
Keep your mixer on low and be patient.
Finally,, some believe you can't use cold butter for shortbread if you want it to be "tender." Actually, for a bar base, we want the butter cold to maintain that specific "short" texture that breaks cleanly rather than stretching like a cookie. Cold butter is the key to the professional "shatter" we are aiming for.
Keeping Your Bars Fresh Longer
These Fig Cream Cheese Bars are even better on the second day because the flavors have time to fully meld. You can store them in an airtight container in the refrigerator for up to 5 days.
I recommend placing a piece of parchment paper between layers if you need to stack them, otherwise, the jammy fig centers might stick to the bottom of the bars above them.
For long term storage, these bars freeze surprisingly well. Wrap individual squares tightly in plastic wrap and then place them in a freezer safe bag. They will stay fresh for up to 3 months. When you're ready to eat, just thaw a bar in the fridge overnight. The crust stays remarkably crisp even after freezing.
To avoid waste, save any leftover fig stems or slightly overripe fruit. You can simmer those down with a bit of sugar and water to make a quick syrup for cocktails or sparkling water.
If you have extra crust crumbles that didn't make it into the pan, bake them on a separate tray and use them as a "shortbread crumble" over yogurt or vanilla ice cream.
Presentation Tips For Special Occasions
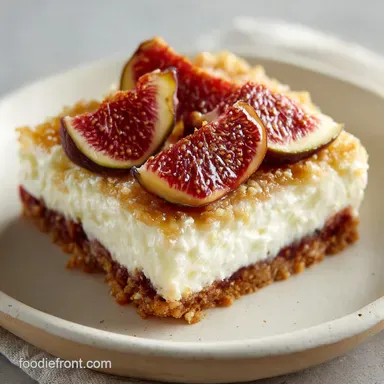
When you are serving these at an event, the way you slice them matters just as much as how you bake them. I like to cut mine into small, elegant rectangles rather than large squares. It makes them feel more like a "petit four" and allows guests to try other desserts without feeling too full.
A tiny sprig of fresh thyme or a very thin slice of fresh fig placed on top of each bar right before serving adds a beautiful, professional touch. The green of the herb pops against the purple and white layers.
You could even drizzle a tiny bit of extra honey over the top to give them a glistening, "eat me" look that is hard to resist.
If you're looking for a different kind of impressive snack to round out a dessert table, these bars pair beautifully with a tray of chewy Brazilian cheese bread for a sweet and salty contrast. The chewy, savory bread cleanses the palate between bites of the rich, sweet fig bars, making for a really sophisticated spread that your friends will be talking about for weeks.

Recipe FAQs
Can I speed up the chilling process by putting the bars in the freezer?
No, avoid the freezer. Placing them in the freezer creates icy pockets and ruins the smooth texture of the cheesecake layer; stick to a four hour refrigerator chill to ensure a clean slice.
How to avoid lumps in the cream cheese layer?
Beat the cream cheese until completely smooth before adding other ingredients. If you enjoyed mastering this emulsification technique, you will find it prevents the grainy texture that often ruins baked cheesecake layers.
Is it true I can substitute the fresh figs with dried ones if they are out of season?
No, this is a common misconception. Dried figs lack the moisture content required for the reduction process and will result in an overly chewy, dense topping instead of the intended jam-like consistency.
How to prevent the crust from becoming soggy?
Bake the crust for the full 15 18 minutes until barely golden before adding the toppings. This par-baking step creates a structural barrier that keeps the base crisp despite the moisture from the fig layer.
Is a hand mixer required to get the right consistency?
No, a sturdy whisk or spatula works fine. You want a low-aeration mixing technique; incorporating too much air can cause the cheesecake layer to puff and crack during the second bake.
How to ensure the bars release easily from the pan?
Line the 8x8 pan with parchment paper, leaving an overhang on two sides. This acts as a sling, allowing you to lift the entire chilled block out of the pan before slicing into 16 even squares.
How to tell when the bars are finished baking?
Look for a set cheesecake layer that still has a slight wobble in the center. Bake for 25 30 minutes, then remove them; the residual heat will finish the setting process during the required four hour cooling time.
Fig Cream Cheese Bars
Ingredients:
Instructions:
Nutrition Facts:
| Calories | 231 kcal |
|---|---|
| Protein | 2.7 g |
| Fat | 13.9 g |
| Carbs | 25.1 g |
| Fiber | 0.8 g |
| Sugar | 14.2 g |
| Sodium | 112 mg |
