Nutter Butter Cookie Butter Spread
- Time: Active 5 minutes, Passive 0 minutes, Total 5 minutes
- Flavor/Texture Hook: Toasted peanut aroma with a velvety, melt on-the tongue finish
- Perfect for: Lazy weekend brunches, impressive edible gifts, or late night pantry raids
- Crafting the Ultimate Nutter Butter Cookie Butter
- The Physics of the Nutty Emulsion
- Component Analysis and Ingredient Roles
- Essential Elements for a Creamy Spread
- Step by Step Processing Guide
- Troubleshooting Your Homemade Spread
- Adjusting the Batch Size
- Spreadable Spread Misconceptions
- Storage and Zero Waste Methods
- Presentation Styles for Every Occasion
- Recipe FAQs
- 📝 Recipe Card
Crafting the Ultimate Nutter Butter Cookie Butter
You know that specific, nostalgic scent when you first crack open a fresh pack of Nutter Butters? That toasted, almost salty peanut aroma that hits you before you even see the cookie?
I was standing in my kitchen last Tuesday, staring at a half empty 16 oz package, and realized that these cookies are basically screaming to be turned into a spread.
I've tried a few versions of this before, and honestly, I made the mistake of using melted butter once don't do that, it just seizes up into a greasy brick in the fridge. This version is different.
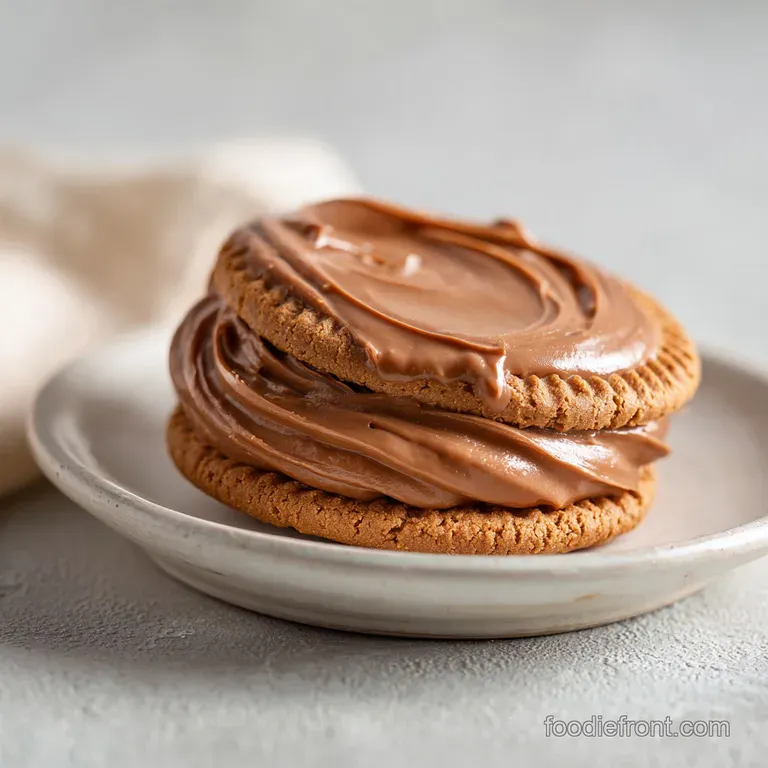
It's light, glossy, and has that perfect balance of sweetness from the honey and a little kick of sea salt that makes you want to keep dipping your spoon back in.
We're going for a texture that's smoother than standard peanut butter but thicker than a syrup. It’s the kind of thing you’ll want to slather over warm toast or use as a dip for apple slices.
Best of all, it takes exactly five minutes from the moment you hit "pulse" to the moment you're licking the spatula clean. Trust me, your toast will thank you.
The Physics of the Nutty Emulsion
Friction Liquification: High speed blades break down the cookie’s cellular structure, releasing the internal fats from the peanut filling to create a natural paste.
Molecular Bridging: The neutral oil surrounds the dry flour particles in the cookie, preventing them from clumping and ensuring a velvety mouthfeel that doesn't feel sandy.
| Method | Time | Texture | Best For |
|---|---|---|---|
| High Speed Blender | 3 minutes | Ultra smooth, liquid like | Drizzling over ice cream or pancakes |
| Food Processor | 5 minutes | Classic spreadable silk | Toast, sandwiches, and dipping |
| Hand Crushed/Mortar | 15 minutes | Chunky, rustic grit | Folding into brownie batter or yogurt |
Choosing the right method depends entirely on how you plan to use it. If you're looking for that professional, jar bought look, stick with the food processor for the most control over the final consistency.
Component Analysis and Ingredient Roles
| Ingredient | Science Role | Pro Secret |
|---|---|---|
| Nutter Butter Cookies | Structural Base | Use fresh cookies for the best "snap" and aroma |
| Neutral Oil | Emulsifying Agent | Grapeseed oil provides the cleanest flavor profile |
| Fine Sea Salt | Flavor Catalyst | Cuts through the sugar to highlight the roasted nuts |
| Pure Vanilla Extract | Aromatic Depth | Rounds out the industrial sweetness of the cookies |
Unlike my Cajun Butter Sauce recipe, which relies on heat to marry flavors, this spread is all about mechanical emulsification. You need that neutral oil to act as the carrier for the dry cookie particles.
Essential Elements for a Creamy Spread
To get this right, you need the full 1 package (16 oz) Nutter Butter Cookies. Don't try to use the "reduced fat" ones the fat in the filling is actually what helps the emulsion stay stable. You'll also need 1/3 cup neutral oil (canola or grapeseed) to provide that signature shine.
For the seasoning and sweetness, grab 1/4 tsp fine sea salt, 1 tbsp honey, and 1/2 tsp pure vanilla extract. Why this? The honey provides a subtle floral note that bridges the cookie and the oil. If you find yourself out of honey, maple syrup works, though it will change the flavor profile slightly.
- 1 package (16 oz) Nutter Butter Cookies: Sub with generic peanut butter sandwich cookies if needed.
- 1/3 cup neutral oil: Sub with melted (and cooled) coconut oil for a firmer set.
- 1 tbsp honey: Sub with agave nectar for a more neutral sweetness.
- 1/2 tsp pure vanilla extract: Sub with almond extract for a marzipan like twist.
- 1/4 tsp fine sea salt: Sub with kosher salt (double the amount).
step-by-step Processing Guide
- Prep the cookies. Break the cookies from the 16 oz package into halves or quarters by hand. Note: This prevents the blades from getting stuck on the first spin.
- Pulverize to sand. Place cookies into a food processor and pulse 10-15 times until they look like fine, dry sand.
- Achieve a paste. Process on high for 1 full minute until the crumbs begin to clump together.
- Add seasonings. Toss in the 1/4 tsp sea salt, 1/2 tsp vanilla, and 1 tbsp honey.
- Start the emulsion. Turn the processor to low and slowly stream in the 1/3 cup neutral oil.
- Monitor the flow. Continue processing until the mixture turns glossy and flows like a heavy ribbon.
- Check the grit. Rub a tiny bit between your fingers; it should feel mostly smooth with minimal graininess.
- Final adjustment. If it’s too thick, add one teaspoon of oil at a time while the motor is running.
- Transfer and set. Pour the Nutter Butter Cookie Butter into a clean glass jar.
- Rest. Let it sit at room temperature for 30 minutes until the air bubbles settle and it thickens slightly.
Chef's Tip: Freeze your Nutter Butters for 20 minutes before processing. This keeps the peanut butter filling firm, allowing the blades to chop it into smaller pieces before it starts to warm up and melt, resulting in a much smoother final spread.
Troubleshooting Your Homemade Spread
Dealing with Gritty Texture
If your spread feels more like wet sand than silk, you likely didn't process the dry cookies long enough before adding the oil. Once the liquid is in, it's much harder to break down those tiny sugar crystals.
Fixing Oil Separation
If you see a layer of oil forming on top after a few days, don't panic. This is natural since we aren't using industrial stabilizers like store-bought brands. A quick stir with a butter knife will bring it right back together.
| Problem | Root Cause | Solution |
|---|---|---|
| Spread is rock hard | Used butter or coconut oil | Let sit at room temp for 20 mins before using |
| Mix is too runny | Added oil too quickly | Add 2-3 more crushed cookies to thicken |
| Tastes "flat" or bland | Not enough salt | Add a tiny pinch of sea salt and pulse again |
Common Mistakes Checklist
- ✓ Ensure the food processor bowl is bone dry before starting (moisture causes seizing).
- ✓ Don't skip the "sand" stage; the cookies must be pulverized before any liquid is added.
- ✓ Use a neutral oil like grapeseed; olive oil is too strong and will ruin the flavor.
- ✓ Let the spread rest after blending to allow the flavors to marry properly.
- ✓ Avoid over processing at the very end, as too much heat can make the oil separate.
Adjusting the Batch Size
Scaling Down: If you only have a few cookies left, you can easily halve this. Use a mini prep processor if you have one. Reduce the oil to about 2.5 tablespoons and just use a tiny pinch of salt. The processing time will be shorter, so keep a close eye on the texture.
Scaling Up: Doubling this is great for holiday gifting. However, do not double the salt or vanilla immediately. Start with 1.5x the amount and taste. You’ll need to work in batches if your food processor is smaller than 11 cups to ensure every crumb gets pulverized evenly.
| Premium Option | Budget Alternative | Flavor Impact | Savings |
|---|---|---|---|
| Macadamia Nut Oil | Canola Oil | Minimal; Macadamia is richer | Save $10 per jar |
| Manuka Honey | Standard Clover Honey | Clover is more neutral and allows nut flavor to shine | Save $15 |
| Vanilla Bean Paste | Pure Vanilla Extract | Extract provides the same classic aroma | Save $5 |
Spreadable Spread Misconceptions
One common myth is that you need to add extra peanut butter to get a strong peanut flavor. In reality, the 16 oz of cookies already contain a high concentration of peanut solids. Adding more peanut butter often makes the mixture too thick and prevents it from reaching that "cookie butter" consistency.
Another misconception is that the oil makes it "greasy." If emulsified correctly, the oil shouldn't feel heavy on the tongue; it should simply provide the slip needed to make the dry cookies spreadable. This is a technique I also use when making my Peanut Butter Cookies recipe to ensure a velvety center.
Storage and Zero Waste Methods
Storage: Keep your Nutter Butter Cookie Butter in an airtight glass jar. At room temperature, it stays fresh and perfectly spreadable for up to 2 weeks. If you live in a very warm climate, you can keep it in the fridge for up to 1 month, but you'll need to let it sit out for 15 minutes to soften before use.
Zero Waste: If you find the last tablespoon of spread is stuck to the bottom of the jar, don't wash it out! Pour 1 cup of hot milk or coffee into the jar, screw the lid on tight, and shake vigorously.
You've just made a Nutter Butter Latte or Hot Cocoa it's the best way to use up every last scrap.
Presentation Styles for Every Occasion
Presentation is everything when you're serving something this decadent. Whether you're just snacking at midnight or hosting a fancy brunch, there's a way to make this look as good as it tastes.
Plating Level: Simple
Serve it straight from a mason jar with a dedicated wooden spreader. This is perfect for a "build your own toast" bar. It looks rustic and honest, highlighting the homemade nature of the spread.
Plating Level: Polished
Spoon the spread into a small ceramic ramekin. Use a spoon to create a deep swirl on the surface and sprinkle a few crushed cookie crumbs and a tiny pinch of flaky salt on top. Surround the ramekin with sliced Granny Smith apples and pretzels.
Plating Level: Restaurant
Warm the spread slightly until it reaches a pourable consistency. Using a squeeze bottle, draw a precise "swoosh" across a white plate. Place a warm brownie or a slice of toasted brioche on one end, and garnish with a few whole honey roasted peanuts and a sprig of mint.
| Level | Goal | Key Element |
|---|---|---|
| Simple | Accessibility | Mason jar + wooden spreader |
| Polished | Visual Appeal | Cookie crumb garnish + fruit slices |
| Restaurant | Sophistication | Controlled drizzle + contrasting textures |
If you're feeling adventurous, this spread also makes an incredible filling for a Cake Jam Recipe adaptation, providing a nutty counterpoint to sweet fruit preserves. Just remember to keep it simple this recipe is impressive enough on its own without too much fuss!
- If you want a dip
- Use the full 1/3 cup of oil for a looser, dippable consistency.
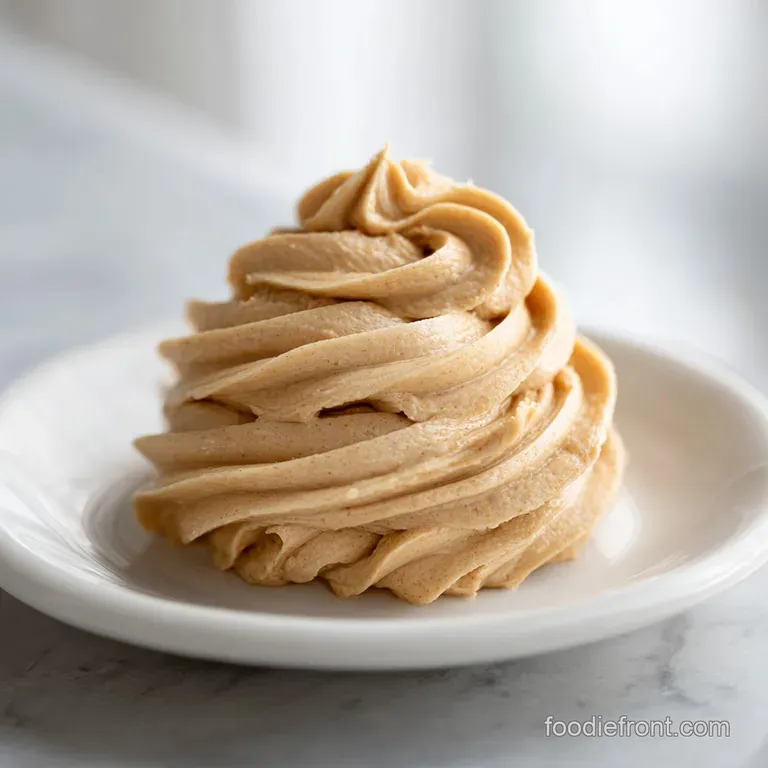
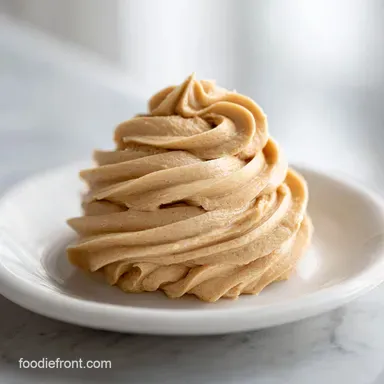
- If you want a frosting base
- Use only 1/4 cup of oil to keep it stiff and pipeable.
- If you want "Crunchy Style"
- Reserve 4 cookies, crush them coarsely by hand, and fold them in at the very end.
- 1. 5 Minutes
- The total time from cookies to jar.
- 2. 1/3 Cup Oil
- The exact measurement for a glossy, ribbon like flow.
- 3. 16 Ounces
- The precise weight of cookies needed to balance the liquid emulsion.

Recipe FAQs
What are Nutter Butters primarily made of?
A combination of peanut butter sandwich cookies, neutral oil, and sweetener. The core ingredients are the cookies themselves, which contain flour, sugar, and peanut butter filling; the oil aids in creating the smooth, spreadable emulsion.
Did the manufacturer discontinue Nutter Butter cookies?
No, Nutter Butter cookies are still widely available. There have been occasional, temporary product scarcity issues, but the cookie remains a staple on most grocery shelves.
Is homemade Nutter Butter Cookie Butter healthier than standard peanut butter?
Not necessarily, as both are high in sugar and fat. This cookie butter contains significantly more refined sugar from the cookies than natural peanut butter, but you control the salt and oil quality.
Why is everyone suddenly talking about Nutter Butter Cookie Butter?
It’s part of the larger trend of "cookie butter" spreads, similar to the popularity of Biscoff. People enjoy replicating beloved nostalgic flavors into versatile, easy-to-make pantry staples.
How can I achieve the ultra smooth texture seen in professional spreads?
Process the dry cookie component for a full minute before adding any liquid. This breaks down the sugar and flour into a fine powder, which allows the subsequent oil addition to create a stable, glossy emulsion, much like the technique used in our Homemade Icing in recipe.
Can I make this cookie butter without a food processor?
Yes, but expect a much longer processing time and a slightly grittier texture. Start by pulsing the cookies in a high powered blender until they form sand, then transfer to a sturdy bowl to mash and incorporate the oil by hand for several minutes.
What happens if I use melted butter instead of neutral oil in this recipe?
The spread will seize up and become very hard once refrigerated. Butter contains milk solids and water content that crystallize when chilled, unlike pure oil, which stays liquid; if you want a firm set, use cooled, solidified coconut oil instead of butter.
Nutter Butter Cookie Butter Spread
Ingredients:
Instructions:
Nutrition Facts:
| Calories | 247 kcal |
|---|---|
| Protein | 2.7 g |
| Fat | 14.1 g |
| Carbs | 26.8 g |
| Fiber | 1.3 g |
| Sugar | 13.4 g |
| Sodium | 175 mg |
