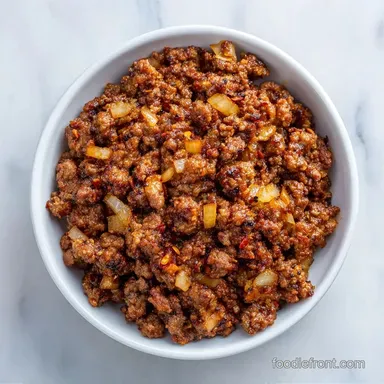
Easy Ground Beef Prep: Savory and Browned
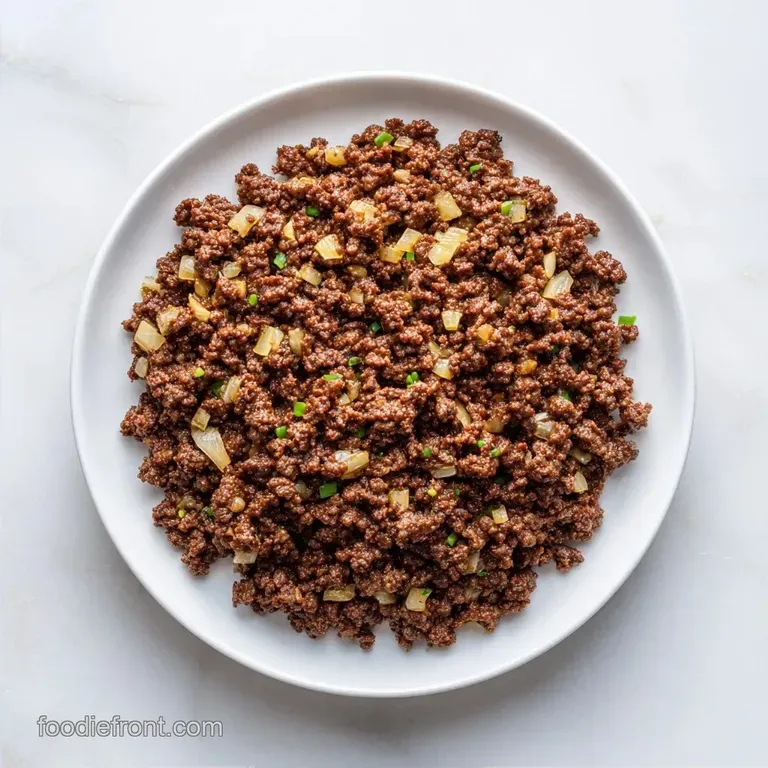
- Time: 10 min active + 20 min cooking
- Flavor/Texture Hook: Deeply browned, crumbly crust with a savory, smoky finish
- Perfect for: High protein weeknight dinner bases or bulk meal prep
That aggressive sizzle when the beef hits a hot cast iron pan is the sound of a dinner win. I remember the first few times I tried prepping beef for the week, I'd just dump the meat in a cold pan and stir it constantly.
I ended up with this sad, gray mush that tasted like nothing, no matter how many spices I threw at it. It was a total letdown, especially when I had spent my only free Sunday afternoon doing it.
Once I stopped stirring and let the meat actually sear, everything changed. Now, I spend about 30 minutes on a Sunday doing my Easy Ground Beef Prep, and it saves my sanity on Tuesday nights.
You get these little crispy bits of beef that carry all the flavor, making it the perfect foundation for tacos, pasta, or bowls.
The goal here isn't to make something fancy. We're making a reliable, hearty base that tastes like a home cooked family dinner every single time. We're using simple tools and a few specific steps to make sure the beef stays juicy but develops that rich, savory crust we're after.
Easy Ground Beef Prep for Weeknights
The secret to this recipe isn't a fancy ingredient, it's the heat. Most people make the mistake of crowding the pan or stirring too early, which drops the temperature and lets the meat stew in its own liquid. By letting it sit undisturbed for a few minutes, you create a crust that holds onto the seasoning.
If you're looking for easy ground beef meal prep ideas, this is the gold standard. You can divide this into containers and add different sauces throughout the week. One day it's a spicy Korean style bowl, the next it's a classic American sloppy joe. It takes the stress out of the 5 PM scramble.
Trust me, once you see the difference between "boiled" beef and "seared" beef, you'll never go back. It's all about that initial contact with the pan. Let's get into how this actually works so you don't end up with gray meat.
Why the Searing Matters
I used to think searing was just for steaks, but it's just as important for ground meat. Here is why this specific method works:
Surface Contact: Leaving the beef alone for 4 minutes allows moisture to evaporate and proteins to brown, which creates the savory flavor.
Fat Management: Heating the pan first helps the fat render out more efficiently, so you aren't chewing through pockets of grease.
Aromatic Layering: Adding onions after the beef is browned means the onions sauté in the beef fat, which tastes way better than just using oil.
Deglazing Effect: The Worcestershire sauce acts as a liquid to lift those browned bits (the fond) off the bottom of the pan and put them back into the meat.
| Approach | Texture | Flavor Profile | Best For |
|---|---|---|---|
| Fresh/Slow Cook | Soft, uniform | Mild, integrated | Stews, Chili |
| over High heat Sear | Crumbly, crispy | Rich, savory | Bowls, Tacos |
| Steamed/Boiled | Mushy, gray | Bland | Not recommended |
Component Analysis
Before we hit the stove, let's look at what these ingredients actually do. I've found that using lean beef is the way to go here because we want the flavor to come from the sear, not from a pool of oil.
| Ingredient | Science Role | Pro Secret |
|---|---|---|
| 90% Lean Beef | Protein Base | Don't go leaner than 90% or it gets dry |
| Avocado Oil | Heat Conductor | High smoke point prevents burnt oil taste |
| Worcestershire | Umami Boost | Adds depth that salt alone can't provide |
| Smoked Paprika | Earthy Note | Adds a "grilled" flavor without a grill |
Shopping List Breakdown
For this Easy Ground Beef Prep, you only need a few staples. If you don't have avocado oil, any oil with a high smoke point works. I avoid extra virgin olive oil here because it can smoke and turn bitter at the temperatures we need.
- 2 lbs lean ground beef (90% lean) Why this? Balanced fat for flavor without excess grease
- 1 tbsp avocado oil Why this? Stays stable at high heat
- 1 medium yellow onion, finely diced Why this? Classic sweetness and aromatic base
- 4 cloves garlic, minced Why this? Fresh garlic beats powder every time
- 1 tsp kosher salt Why this? Larger grains are easier to control
- 1/2 tsp cracked black pepper Why this? Coarse grind adds a bit of heat
- 1 tbsp Worcestershire sauce Why this? Natural source of glutamates for umami
- 1 tsp smoked paprika Why this? Deepens the color and adds smokiness
Quick Substitutes:
- Avocado Oil: Grapeseed oil or Canola oil.
- Worcestershire: Soy sauce or coconut aminos (note: soy is saltier).
- Yellow Onion: White onion or shallots for a milder taste.
- Smoked Paprika: Regular paprika, but you'll lose that charred flavor.
Necessary Kitchen Tools
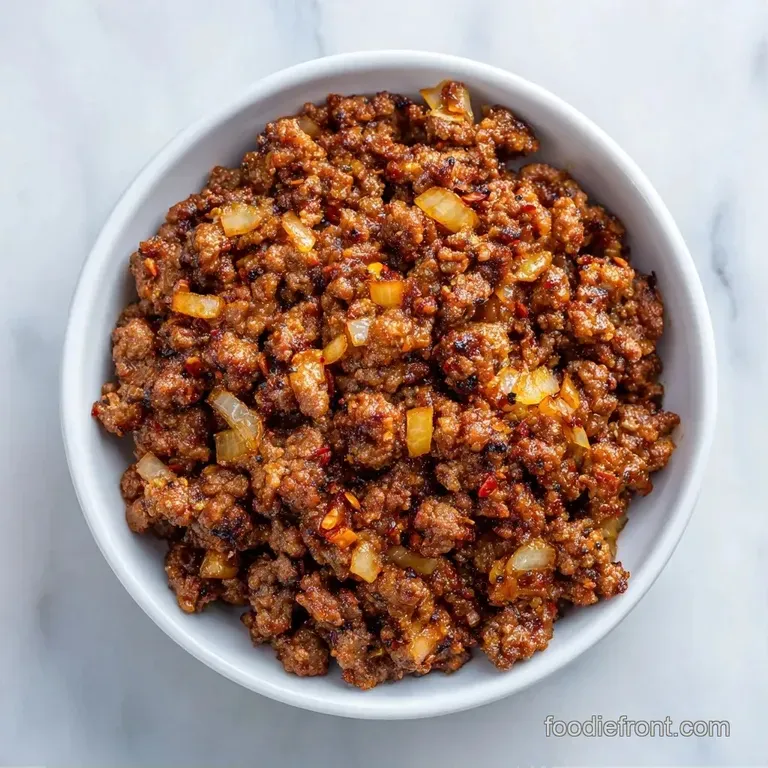
You don't need a professional kitchen for this. In fact, the simpler the tools, the better. I prefer a 12 inch cast iron skillet because it holds heat like a beast, meaning the pan doesn't cool down when you drop in two pounds of cold meat. If you don't have cast iron, a heavy stainless steel pan is your next best bet.
Avoid non stick pans if you can. They don't get hot enough to create a real sear, and you'll end up with that gray meat we're trying to avoid. You'll also need a sturdy spatula or a wooden spoon to break up the beef.
The step by step Method
Right then, let's get cooking. Make sure your beef is slightly tempered just take it out of the fridge about 10 minutes before you start so it doesn't shock the pan.
- Heat avocado oil in a 12 inch cast iron skillet or large stainless steel pan over medium high heat until shimmering. Note: If the oil wisps, it's ready.
- Add the ground beef in a thin, even layer. Sear without stirring for 3-4 minutes until a deep brown crust forms on the bottom, then break the meat into small crumbles and cook until no pink remains.
- Push the beef to the sides of the pan to create a well in the center. Add the diced onions and cook for approximately 3 minutes until translucent.
- Stir in the minced garlic, salt, and pepper, cooking for another 60 seconds until fragrant.
- Stir in the Worcestershire sauce and smoked paprika, scraping up any browned bits from the bottom of the pan.
- Remove from heat, allow the beef to cool slightly, and divide into 6 airtight containers.
Chef's Note: Don't be tempted to stir the beef the second it hits the pan. I know it's hard to watch it just sit there, but that's where the flavor happens. If you stir too early, you release the juices and the meat boils.
Fixing Common Beef Problems
Even with a simple recipe, things can go sideways. Usually, it's a temperature issue. If your pan isn't hot enough, the beef will release its moisture and sit in a pool of gray liquid. This is what we call "steaming" instead of searing.
Why Your Beef Is Gray
This happens when the pan temperature drops too low or the pan is overcrowded. The meat releases water, and since it can't evaporate fast enough, the beef boils. To fix this, cook in two batches if your pan is small.
Managing Excess Grease
Even 90% lean beef can release some fat. If you see a pool of oil, don't drain it while the meat is cooking, as you'll lose the flavor. Instead, tilt the pan and spoon out the excess after the seasonings are in.
Burning the Garlic
Garlic burns fast and tastes bitter. That's why we add it after the onions have already softened. Only 60 seconds is all you need.
| Problem | Root Cause | Solution |
|---|---|---|
| Meat is gray/boiled | Pan too cold or overcrowded | Cook in batches; don't stir early |
| Bitter taste | Burnt garlic or oil | Add garlic last; use high smoke oil |
| Too salty | Over seasoned or soy sub | Add a splash of water or a pinch of sugar |
Common Mistakes Checklist:
- ✓ Stirring the meat immediately after adding it to the pan.
- ✓ Using a non stick pan that can't reach searing temperatures.
- ✓ Adding garlic at the same time as the onions.
- ✓ Packing the containers while the beef is steaming hot (creates soggy meat).
- ✓ Using beef that is too lean (below 90%), resulting in a dry texture.
Customizing Your Beef
This is where the "meal prep" part really shines. Once you have this neutral but savory base, you can pivot in any direction. For those focusing on healthy ground beef meal prep, I recommend pairing this with roasted cauliflower or sautéed spinach.
If you want easy ground beef meal prep high protein bowls, try mixing a portion of this beef with quinoa and a dollop of Greek yogurt. For easy ground beef meal prep weight loss, keep the beef as the star and load the rest of the bowl with shredded cabbage or zoodles.
If you want to add more depth to the base, try stirring in a splash of homemade beef stock during the final step. It creates a slight glaze that keeps the meat moist when reheating.
Scaling Guidelines:
- Cutting in half: Use a smaller 8 inch pan. Reduce the cooking time for the onions by about 1 minute.
- Doubling the batch: Do NOT cook 4 lbs at once. You will absolutely end up with gray meat. Work in two separate batches to maintain the pan heat.
- Seasoning adjustment: When doubling, only increase the salt and paprika to 1.5x. Taste it before adding the full amount, as seasonings can intensify in larger volumes.
Storage and Reheating Tips
To keep your Easy Ground Beef Prep fresh, let the meat cool to room temperature before snapping the lids on your containers. If you trap the steam inside, the beef will get soggy and the shelf life will drop.
Fridge: Store in airtight containers for up to 4 days. Freezer: This freezes beautifully. Use freezer safe bags and flatten them out; they'll thaw faster and take up less space. Lasts up to 3 months.
Reheating: - Stovetop: The best way. Add a teaspoon of water or oil to a pan over medium heat. Sizzle for 3-5 minutes. - Microwave: Sprinkle a tiny bit of water over the beef and cover with a damp paper towel.
Heat in 45 second bursts to avoid "rubbery" beef.
Zero Waste Tip: Don't toss the fat that settles at the bottom of your containers. Save it in a jar in the fridge and use it to sauté your vegetables for the next meal. It's packed with the flavor of the smoked paprika and garlic.
Best Side Dish Pairings
Since this beef is savory and slightly smoky, it needs something bright or acidic to balance it out. A heavy meat dish needs a crisp contrast to keep it from feeling too weighing.
I always suggest a side of easy homemade coleslaw for a bit of crunch and vinegar. The acidity of the slaw cuts right through the richness of the beef. If you're doing a bowl style, some steamed broccoli or a simple cucumber salad works wonders.
For a more comforting family dinner, serve this over mashed potatoes or with a side of buttered corn. The key is to balance the deep, seared flavor of the beef with something fresh or creamy. According to USDA FoodData, lean beef provides a great protein punch, so adding high fiber vegetables makes it a complete, balanced meal.
Recipe FAQs
How to prep ground beef before cooking?
Heat avocado oil in a 12 inch skillet over medium high heat. Add the beef in a thin, even layer and sear without stirring for 3-4 minutes to develop a brown crust before breaking it into crumbles.
Is lean ground beef good for heart patients?
Yes, generally. Using 90% lean ground beef reduces the amount of saturated fat compared to higher fat blends.
How to make ground beef meal prep?
Cook the beef with onions and garlic, then cool it to room temperature. Divide the mixture into six airtight containers to prevent steam from making the meat soggy.
What can I make that's quick and easy with ground beef?
Tacos, pasta sauces, or grain bowls. These crumbles are highly versatile; for another fast protein alternative, try our shrimp pasta.
What are some easy meal prep ideas for a busy week?
Batch cooked proteins and pre-cut vegetables. Pairing this prepped beef with steamed greens or rice allows you to assemble high protein lunches in minutes.
Simple ground beef meal prep high protein?
Use 90% lean ground beef. This ensures a high protein-to-fat ratio, providing a lean base for calorie controlled meal planning.
Is it true that ground beef must be stirred constantly to brown properly?
No, this is a common misconception. Searing the meat without stirring for 3-4 minutes is the only way to achieve a deep brown crust.
Easy Ground Beef Prep