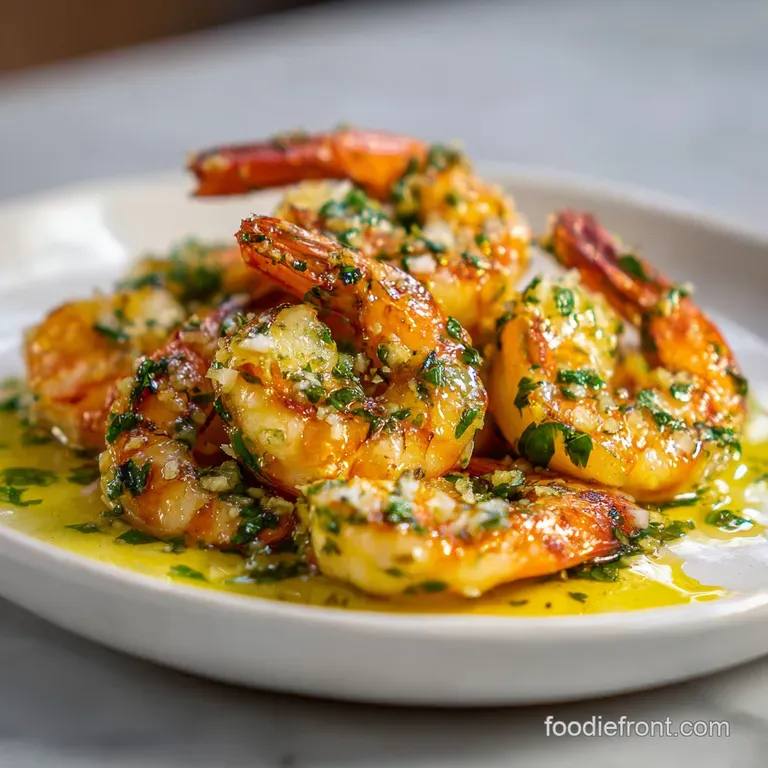
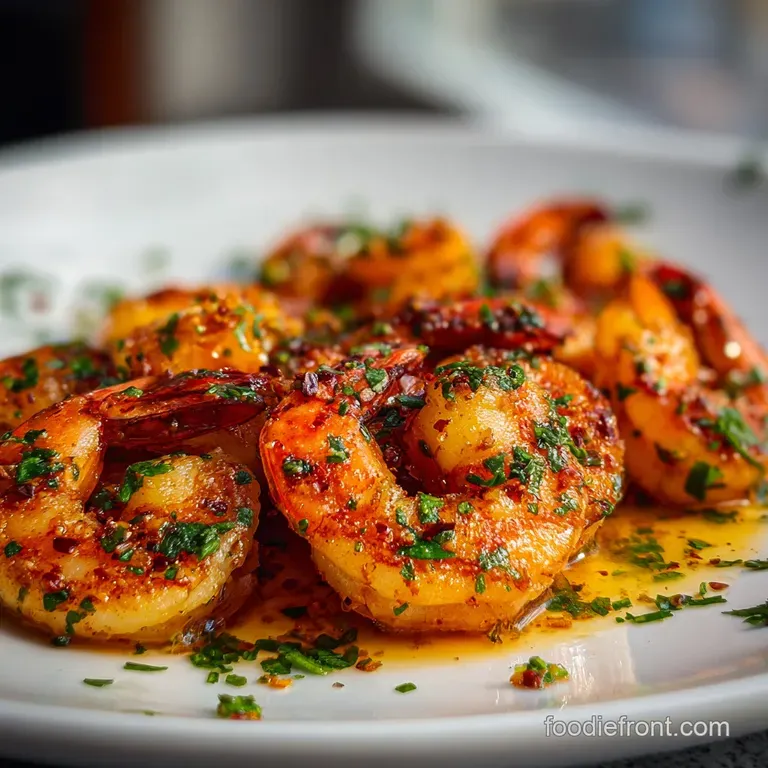
Snappy Garlic Shrimp (Gambas Al Ajillo)
- Time: Active 10 minutes, Passive 5 minutes, Total 15 minutes
- Flavor/Texture Hook: Snappy, garlicky, and velvety
- Perfect for: Quick family dinners or impressive appetizers
- Master the Most Succulent Garlic Shrimp
- The Science of Succulence
- Essential Recipe Specifications
- Hearty Ingredients and Substitutes
- Required Minimal Kitchen Tools
- Simple Instructions for Success
- Fixing Common Kitchen Errors
- Easy Recipe Dietary Adjustments
- Proper Storage and Waste
- Proper Serving Size and Method
- Simple Kitchen Myths
- Plating and Serving Ideas
- Recipe FAQs
- 📝 Recipe Card
Master the Most Succulent Garlic Shrimp
The first time I really understood this dish, I wasn't in a fancy restaurant. I was huddled around a tiny, wobbly wooden table in a back alley tapas bar in Seville, the air thick with the scent of toasted pimentón and sizzling olive oil.
Every time the kitchen door swung open, a fresh wave of that intoxicating aroma hit us. When the clay dish finally arrived, the oil was still frantically bubbling around the pink, curled shrimp, and the first thing we did wasn't even grab a fork. We grabbed the crusty bread.
That velvety, garlic infused oil is the heartbeat of the meal. I remember watching the cook through the hatch, and he wasn't doing anything overly complicated. He was just being patient with his garlic. Back home, I spent months trying to recreate that specific snap of the shrimp.
I made every mistake in the book, from rubbery overcooked seafood to bitter, burnt garlic bits that ruined the whole vibe. But through those failures, I learned the little tricks that make this humble meal feel like a warm hug for your family.
This recipe is my love letter to those simple, hearty dinners where the main goal is just to enjoy each other's company while getting a little bit of oil on your fingers. We're going to use minimal tools - just a bowl and a good skillet - because I know your weeknights are busy.
You don't need a culinary degree to make this; you just need to trust the process and keep a close eye on the sizzle. We're going for that "shatter on-the outside, tender on-the inside" texture that makes everyone reach for seconds.
The Science of Succulence
Creating that signature snap isn't about luck, it's about chemistry. We use a tiny bit of baking soda in the brine because it raises the pH level of the shrimp. This slight shift in alkalinity helps the proteins stay tucked in tight, preventing them from squeezing out too much moisture when they hit the heat.
Instead of becoming mushy or tough, the shrimp stay plump and juicy, giving you that satisfying "pop" when you bite into them. It's a small shortcut that makes a world of difference in the final texture.
Another key part of the magic is the two stage garlic infusion. By using both thinly sliced and grated garlic, we're attacking the flavor profile from two angles. The sliced garlic toasts slowly, becoming sweet and nutty, while the grated garlic melts into the oil, creating a pungent, velvety base. This is similar to how we layer flavors in a Garlic Butter Shrimp recipe to ensure every drop of sauce carries the aromatic weight of the aromatics.
| Shrimp Thickness | Internal Temp | Rest Time | Visual Cue |
|---|---|---|---|
| Small (41-50 ct) | 120°F (49°C) | 1 min | Opaque and just curled |
| Medium (26-30 ct) | 120°F (49°C) | 2 mins | Pink "C" shape forms |
| Large (16-20 ct) | 120°F (49°C) | 3 mins | Tightly curled, bright white center |
The carryover cooking is real with seafood. If you leave them in the pan until they look fully done, they'll be rubbery by the time the plate hits the table. We pull them just as they lose their translucency.
Trust the residual heat in that shimmering oil to finish the job while you're carrying the skillet to the dining room.
Essential Recipe Specifications
When we talk about family dinners, we want something that feeds everyone without leaving you stuck at the stove all night. This recipe is designed to be lean on time but heavy on satisfaction.
Since we are using large shrimp (the 16-20 count variety), they have enough surface area to soak up that beautiful Sherry infused oil without disappearing into the sauce.
| Feature | Detail |
|---|---|
| Serving Size | 4 hearty portions |
| Primary Fat | Extra Virgin Olive Oil |
| Main Protein | Large Shrimp (Tail on) |
| Heat Level | Mild to Medium (Adjustable) |
Before we get into the heavy lifting, make sure your shrimp are completely dry. I usually pat them down with paper towels twice. Water is the enemy of a good sear; if they're damp, they'll just steam in the pan, and you'll miss out on that beautiful golden color.
It's these little steps that transform a basic meal into a family favorite.
Hearty Ingredients and Substitutes
The beauty of this dish lies in its simplicity, but that means the quality of your components really matters. I always reach for a high-quality extra virgin olive oil because it makes up the bulk of our sauce. This isn't just a cooking medium; it's a primary ingredient.
If you use a cheap, flavorless oil, the dish will feel greasy instead of luxurious.
- 1 lb large shrimp: These are the stars. Why this? Larger shrimp hold their texture better during the quick, over high heat sear.
- 1/3 cup extra virgin olive oil: The base of our liquid gold. Why this? Provides the fruity, peppery foundation for the entire flavor profile.
- 4 garlic cloves (sliced) & 5 garlic cloves (grated): Double the trouble. Why this? Slicing adds texture; grating ensures the flavor permeates every millimeter of oil.
- 2 tbsp dry Sherry: Adds a sophisticated, nutty acidity. Why this? Cuts through the richness of the oil and deglazes the pan.
- 1 tsp smoked Spanish paprika: For that deep, earthy red hue. Why this? Pimentón de la Vera adds a subtle wood smoke aroma without needing a grill.
| Original Ingredient | Substitute | Why It Works |
|---|---|---|
| Dry Sherry | Dry White Wine | Provides necessary acidity. Note: Lacks the nutty depth of Sherry but stays bright. |
| Smoked Paprika | Sweet Paprika | Maintains the color. Note: You lose the smoky finish, so add a pinch more chili. |
| Italian Parsley | Fresh Cilantro | Fresh and green. Note: Changes the flavor to a more Latin American profile. |
If you're looking to turn this into a full meal, it's easy to toss these shrimp with some pasta. I often find that the flavors here remind me of the balance in a Shrimp Mushroom Pasta recipe, where the aromatics do most of the heavy lifting. Just ensure you have plenty of extra oil to coat the noodles.
Required Minimal Kitchen Tools
You don't need a mountain of gadgets for this. In fact, a cluttered counter just makes the process more stressful. I recommend a heavy bottomed skillet - stainless steel or cast iron is best. These materials hold heat exceptionally well, which is crucial when you drop cold shrimp into the oil.
If the pan temperature drops too much, the shrimp will boil rather than sear.
Chef Tip: Use a microplane for the garlic rather than a traditional press. The microplane creates a fine paste that emulsifies into the oil almost instantly, whereas a press can leave behind large chunks that burn easily.
A simple glass bowl for the brining and a sturdy pair of tongs are your only other requirements. I love using tongs because they allow for precise flipping. With shrimp, you want to turn them one-by-one to ensure each side gets the exact same amount of contact with the hot metal.
Simple Instructions for Success
- Brine the shrimp. Toss the 1 lb large shrimp with 1/2 tsp kosher salt and 1/4 tsp baking soda in a bowl. Note: This creates the snappy texture.
- Prep the garlic. Slice 4 cloves into thin slivers and grate the remaining 5 cloves into a paste.
- Cold start the oil. Place 1/3 cup olive oil and the sliced garlic in a cold skillet.
- Infuse the aromatics. Turn the heat to medium low and cook until the garlic edges turn golden.
- Add the paste. Stir in the grated garlic, 1/2 tsp chili flakes, and 1 tsp smoked paprika.
- Sear the shrimp. Increase heat to medium high and add shrimp in a single layer until they sizzle loudly.
- Flip and deglaze. After 2 minutes, flip the shrimp and pour in 2 tbsp dry Sherry.
- Finish with herbs. Toss in 1/4 cup chopped parsley until the liquid slightly thickens.
- Remove from heat. Kill the flame while the shrimp are still slightly translucent in the center.
- Final touch. Squeeze over fresh lemon wedges and serve immediately with warm bread.
Fixing Common Kitchen Errors
The most common heartbreak with this dish is bitter garlic. It happens in the blink of an eye. If your oil is too hot when the garlic goes in, it will turn brown and acrid before you can even reach for the shrimp. That's why we start in a cold pan. It gives the garlic time to wake up and release its oils gradually.
Why My Shrimp Are Rubbery
This is almost always a result of overcooking. Shrimp are tiny, and they continue to cook for minutes after you take them off the stove. If you wait for them to look like the pictures in a magazine while they're still in the pan, you've gone too far.
| Problem | Root Cause | Solution |
|---|---|---|
| Bitter Sauce | Burnt Garlic | Start garlic in cold oil and keep heat at medium low until shrimp are added. |
| Watery Base | Wet Shrimp | Pat shrimp bone dry with paper towels before the alkaline brine step. |
| Tough Texture | Overcooking | Pull the pan off the heat when shrimp are still 90% cooked. |
Common Mistakes Checklist
- ✓ Don't skip the baking soda; it's the difference between "okay" and "extraordinary" texture.
- ✓ Use a large enough pan so the shrimp don't overlap, which causes steaming.
- ✓ Avoid pre minced garlic in a jar; the preservatives give it a metallic, sour taste.
- ✓ Keep your bread warm in the oven so it's ready the second the shrimp are done.
- ✓ Use dry Sherry, not "Cooking Sherry" which is loaded with unnecessary salt.
Easy Recipe Dietary Adjustments
If you need to make this work for different needs, it's incredibly flexible. For a Paleo or Whole30 version, simply swap the Sherry for a splash of apple cider vinegar mixed with a little water. The acidity is what matters most here.
The olive oil is already a fantastic healthy fat, making this a natural choice for those following a Mediterranean style diet.
If you want a lower fat version: Reduce the olive oil to 2 tablespoons. Add 1/4 cup of seafood stock to maintain the sauce volume. Note: The sauce will be thinner and less velvety, but still very flavorful.
If you want a spice kick: Double the red chili flakes. Add a diced Fresno chili with the sliced garlic. Note: This moves the dish toward a "Fra Diavolo" style but keeps the Spanish soul.
When scaling this for a crowd, remember that you shouldn't just double everything and throw it in one pan. If you're making 2 lbs of shrimp, do it in two separate batches or use two skillets. Crowding the pan is the quickest way to end up with grey, boiled shrimp instead of the vibrant pink ones we're after.
Proper Storage and Waste
Let's be real: these are best eaten immediately. However, if you do have leftovers, they make a killer addition to a cold salad the next day. Store them in an airtight container in the fridge for up to 2 days. When reheating, do it very gently on the stovetop over low heat just until warmed through.
If you microwave them, they will turn into pencil erasers.
For a zero waste approach, don't throw away those shrimp shells if you bought them whole! Toss them into a freezer bag. Once you have a couple of pounds, you can simmer them with some water, onion, and celery to make a rich seafood stock for a future risotto or soup.
Even the lemon rinds can be tossed into the disposal to freshen up the kitchen after you're done cooking.
Proper Serving Size and Method
| Servings | Shrimp Amount | Pan Size | Bread Needed |
|---|---|---|---|
| 2 People | 1/2 lb | 8 inch skillet | 1/2 Baguette |
| 4 People | 1 lb | 12 inch skillet | 1 Full Baguette |
| 6 People | 1.5 lb | Two 10 inch pans | 2 Baguettes |
Simple Kitchen Myths
One big myth is that you should always peel shrimp entirely. I actually like to leave the very tip of the tail on. It acts as a little handle for people to grab if they're eating these as an appetizer, and it supposedly adds a tiny bit more flavor to the oil as it simmers.
Plus, it just looks more rustic and family style on the platter.
Another myth is that high heat is the only way to get flavor. While we want a sizzle, the "Gambas al Ajillo" style is actually about a gentle poach in flavored oil. We aren't looking for a hard crust like a steak; we want the shrimp to be infused through and through with that garlic and paprika goodness.
Plating and Serving Ideas
When it's time to eat, I love bringing the skillet right to the table. There's something so comforting about everyone dipping into the same pan. Place the skillet on a sturdy trivet in the center of the table and surround it with a mountain of sliced, toasted bread. The bread is non negotiable!
You need it to soak up every last drop of that red tinted, garlicky oil.
What should I serve alongside?
- A crisp green salad: Something with a sharp lemon vinaigrette to cut through the oil.
- Roasted potatoes: They are perfect for catching any stray sauce that the bread misses.
- Spanish Rice: A simple saffron rice pairs beautifully with the smoked paprika notes.
Honestly, don't worry about being too fancy with the presentation. This is a "get messy and enjoy it" kind of meal. Sprinkle a little extra fresh parsley over the top at the very last second for a pop of color, and make sure everyone has a small bowl for their discarded tails.
It's simple, it's hearty, and it’s the kind of dinner that makes your house feel like a home. Trust me, once your family smells that garlic hitting the pan, they’ll be in the kitchen before the shrimp even hit the oil!

Recipe FAQs
What is in Gambas al Ajillo?
Shrimp, quality olive oil, lots of garlic, and chili flakes. This classic Spanish tapa focuses on high-quality, simple ingredients infused quickly in shimmering oil, often finished with a splash of Sherry or white wine.
What's the secret to perfectly cooked Gambas al Ajillo?
Cook the shrimp just until opaque and immediately remove them from the heat. The residual heat in the olive oil will overcook them if you wait until they look done in the pan; aiming for 90% done ensures a tender, snappy texture.
What does Gambas al Ajillo mean in English?
It translates literally to "Shrimp with Garlic." This dish relies heavily on the technique of gently infusing the oil, a flavor layering principle similar to what we use when building the base for our Garlic Butter Seasoning recipe.
Is Gambas al Ajillo healthy?
Generally yes, as a protein source, but depends on the oil quantity. It is rich in healthy monounsaturated fats from the olive oil and low in carbohydrates, making it excellent for Mediterranean style eating.
Should I use frozen shrimp or fresh for this recipe?
No, stick with fresh or thawed, completely dry shrimp for the best texture. Frozen shrimp release too much water, which lowers the oil temperature and causes them to steam rather than sear beautifully.
How do I prevent my garlic from burning in the hot oil?
Start the sliced garlic in cold olive oil and turn the heat to medium low. Let the garlic gently toast and infuse the oil as the temperature rises, preventing scorching which leads to a bitter flavor profile.
Can I use butter instead of only olive oil?
No, using only olive oil creates the essential signature sauce consistency. Butter burns at a lower temperature than olive oil and will yield a heavy, brown sauce rather than the bright, shimmering pool that defines this dish.
Snappy Garlic Shrimp

Ingredients:
Instructions:
Nutrition Facts:
| Calories | 302 kcal |
|---|---|
| Protein | 23.4 g |
| Fat | 19.2 g |
| Carbs | 4.1 g |
| Fiber | 0.4 g |
| Sugar | 0.8 g |
| Sodium | 395 mg |
