Homemade Icing: Silky and Velvety

- Time: Active 10 minutes, Passive 10 minutes, Total 20 minutes
- Flavor/Texture Hook: Silky, velvety, and buttery
- Perfect for: Milestone birthdays or anyone who finds standard frosting too sweet
- Achieve Cloud Like Texture with Homemade Icing
- Science Behind The Silky Texture
- The Essential Component Breakdown
- Required Gear For Success
- Mastering The Mixing Process
- Correcting Structural Mishaps
- Exciting Creative Variations
- Managing Leftover Storage
- Top Tier Serving Suggestions
- Homemade Icing FAQs
- 📝 Recipe Card
Achieve Cloud Like Texture with Homemade Icing
We've all been there: biting into a gorgeous cupcake only to have that gritty, tooth aching sweetness of cheap powdered sugar ruin the vibe. It’s frustrating when you spend hours on a moist sponge, only to cap it with something that tastes like a sugar factory exploded.
I used to think the only way to get a silky finish was to master difficult egg white meringues, but then I rediscovered this "boiled flour" or Ermine method.
Honestly, don't even bother with the standard butter and sugar powder mix once you've tried this. It’s the original frosting used for traditional red velvet cake, and for a good reason.
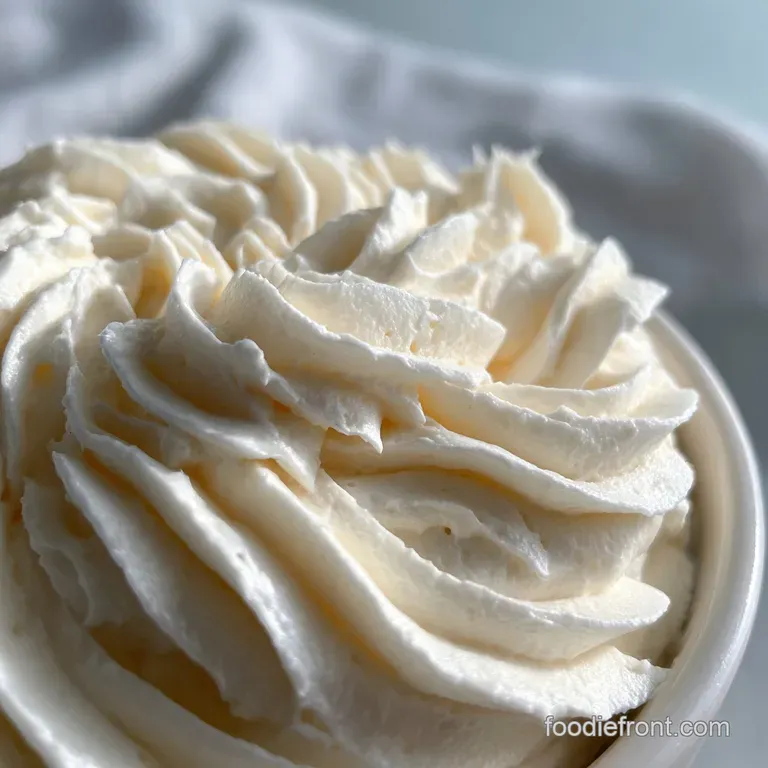
It’s light, stable, and has this incredible mouthfeel that reminds me of a high end whipped cream but with the structural integrity of a heavy buttercream. It feels like a secret handshake among bakers who know that real flavor doesn't have to be a sugar bomb.
Right then, let's crack on with what makes this recipe a staple in my kitchen. You're going to love how this behaves under a piping bag, and your friends will definitely ask if you bought it from a professional patisserie. It’s that impressive.
Science Behind The Silky Texture
Starch Gelatinization: When we cook the flour and milk together, the starch granules swell and burst, creating a thick, stable gel that provides structure without the need for massive amounts of sugar.
Fat Emulsification: Slow beating the cooled flour paste into the creamed butter allows the fat and water molecules to bond tightly, resulting in a velvety, stable emulsion that resists melting.
| Method | Prep Time | Texture Profile | Best For |
|---|---|---|---|
| Ermine (This Recipe) | 20 minutes | Silky, buttery, whipped | Traditional cakes & hot weather |
| American Buttercream | 10 minutes | Gritty, very sweet, stiff | Quick treats & sugar cravings |
| Swiss Meringue | 45 minutes | Glossy, airy, delicate | Wedding cakes & advanced bakers |
This method is specifically designed for those who value texture over pure sugar content. Because we use granulated sugar that dissolves in the hot milk, you get a completely smooth finish that never feels "sandy" on the tongue.
The Essential Component Breakdown
Understanding what each piece of the puzzle does will help you avoid the common pitfall of a soupy mess. I’ve made those mistakes so you don't have to, especially when it comes to the temperature of your butter.
| Ingredient | Science Role | Pro Secret |
|---|---|---|
| All purpose flour (50g) | Thickening agent | Whisk constantly to prevent a "floury" aftertaste. |
| Whole milk (240ml) | Liquid hydration | Use full fat for the most luxurious, velvety mouthfeel. |
| Unsalted butter (225g) | Structural fat | Must be exactly 68°F (20°C) to emulsify properly with the paste. |
Selecting high-quality fats is non negotiable here. Since the butter is the star of the show, a European style butter with higher fat content will yield a more lustrous result than standard grocery store blocks.
Required Gear For Success
To get that professional grade finish, you don't need a kitchen full of gadgets, but a few specific items make a world of difference. A heavy bottomed saucepan is your best friend here; it distributes heat evenly so you don't end up with scorched bits of flour in your base.
I personally recommend using a stand mixer such as a KitchenAid with the paddle attachment for the initial mixing and the whisk attachment for the final "fluffing." If you only have a hand mixer, just be prepared to give your arm a little workout it's worth it for the airy volume you'll achieve.
A silicone spatula is also essential for scraping every bit of that flour paste out of the pan and ensuring no lumps are left behind.
Mastering The Mixing Process
- Whisk the dry base. Combine 50g all purpose flour and 200g granulated sugar in your saucepan. Note: Mixing them dry first prevents the flour from clumping when the liquid hits.
- Incorporate the milk. Slowly pour in 240ml whole milk while whisking vigorously until no lumps remain.
- Cook the paste. Place over medium heat and stir constantly. Note: Don't walk away; this thickens suddenly.
- Thicken to a pudding. Continue cooking until the mixture resembles a thick, translucent custard and bubbles start to pop.
- Cool completely. Transfer the paste to a bowl and cover with plastic wrap touching the surface. Note: This prevents a "skin" from forming which causes lumps later.
- Cream the butter. In a separate bowl, beat 225g softened butter and 0.25 tsp sea salt until pale and fluffy.
- Combine the elements. Add the cooled flour paste to the butter one tablespoon at a time. Note: This is the critical emulsification step.
- Add the aromatics. Pour in 1 tbsp pure vanilla extract and beat on high until it looks like whipped cream.
- Final texture check. If it feels too soft, pop the whole bowl in the fridge for 10 minutes then re whip.
Similar to the technique used in my Cool Whip Pudding recipe, the secret is all in the temperature control and the gradual addition of ingredients to maintain the air bubbles.
Correcting Structural Mishaps
Why Your Icing Is Soupy
If your mixture looks more like a glaze than a frosting, the most likely culprit is temperature. Either your flour paste was still warm when you added it to the butter, or your room is simply too hot.
If the butter melts even slightly, the emulsion breaks, and no amount of whisking will bring it back without a temperature reset.
Rescuing Curdled Frosting
Sometimes the icing looks like cottage cheese. This usually happens when the butter and the paste are at different temperatures. It looks scary, but it's an easy fix! You just need to bring the temperatures into alignment so the fats can bind again.
| Problem | Root Cause | Solution |
|---|---|---|
| Liquid/Runny | Paste was too warm | Chill the entire bowl for 15 minutes and re whip. |
| Grainy Texture | Sugar didn't dissolve | Ensure the milk/sugar/flour mixture reaches a full boil. |
| Curdled/Separated | Temperature mismatch | Use a hair dryer on the side of the bowl while whisking. |
Common Mistakes Checklist
- ✓ Never use cold butter - it won't incorporate into the paste and will leave yellow chunks.
- ✓ Use a thermometer to ensure your butter is around 68°F for the best stability.
- ✓ Whisk the flour and milk before turning on the heat to avoid permanent lumps.
- ✓ Press plastic wrap directly onto the hot paste to prevent a tough skin.
- ✓ Be patient during the final whip; it can take a full 5 minutes to reach maximum volume.
Exciting Creative Variations
Once you've mastered the base, the possibilities are endless. For a sophisticated twist, you can add 2 tablespoons of espresso to the milk while cooking to create a mocha version. If you're feeling adventurous, try steeping Earl Grey tea bags in the milk before starting the process for a floral, London Fog inspired finish.
For those looking for a different breakfast vibe, this frosting actually works beautifully on top of pancakes. I've found that using a Whole Grain Pancake Mix recipe as a base provides a hearty contrast to the light, airy sweetness of the icing.
Chef's Tip: To create a chocolate version, whisk 30g of high-quality cocoa powder into the flour/sugar mix at the very beginning. The heat from the cooking process "blooms" the cocoa, making the chocolate flavor much deeper and more intense.
Managing Leftover Storage
Storage: You can keep this frosting in an airtight container in the fridge for up to 5 days. However, because it's a high fat emulsion, it will firm up significantly in the cold.
When you're ready to use it, let it sit on the counter for about an hour, then give it a quick whip with a hand mixer to restore that velvety texture.
Freezing: This recipe freezes surprisingly well! Place it in a freezer safe bag, squeeze out the air, and store for up to 3 months. Thaw it overnight in the fridge and follow the re whipping instructions above.
Zero Waste: If you have just a small amount of leftover icing, don't toss it. It makes an incredible filling for sandwich cookies or a dip for fresh strawberries. I’ve even been known to swirl a spoonful into my morning coffee for a decadent "butter coffee" treat.
Top Tier Serving Suggestions
Presentation is where this Homemade Icing really shines. Because it's so stable, it holds intricate piping details much better than a standard whipped cream frosting. I love using a large open star tip to create "soft serve" style swirls on cupcakes.
| Plating Level | Technique | Visual Effect |
|---|---|---|
| Simple | Offset spatula "swooshes" | Rustic, home baked charm |
| Polished | Round tip "blobs" | Modern, clean, and minimalist |
| Restaurant | Multi tip floral piping | Sophisticated and high end |
If you want to go the extra mile, try a "reverse ombre" effect. Divide your frosting into three bowls, adding varying amounts of fruit puree (like raspberry) to each. Pipe from the darkest color at the bottom of the cake to the lightest at the top. The smooth texture makes blending the colors a total breeze.
This icing pairs particularly well with dense, flavorful cakes. While I usually avoid savory pairings, the subtle saltiness in this recipe means it stands up beautifully to a dark chocolate Guinness cake or a spice heavy carrot cake.
It’s all about finding that balance between the rich fat of the butter and the light, airy structure of the cooked flour base. Trust me, once you go Ermine, you never go back!

Homemade Icing FAQs
What can you use instead of powdered sugar for icing?
Consider a cooked flour paste base. This method uses granulated sugar dissolved in a milk and flour mixture, creating a silky texture without any grit, offering a less intensely sweet alternative.
Can I use normal sugar to make icing?
Yes, but not directly like powdered sugar. Normal granulated sugar needs to be dissolved, typically by cooking it with milk and flour to form a smooth paste, before incorporating it into butter for icing.
Can I substitute granulated sugar for powdered sugar in icing?
Yes, through a cooking method. Simply substituting granulated sugar for powdered sugar in a standard recipe won't work. You need to cook the granulated sugar with liquid and a thickener, like flour, to achieve a smooth icing consistency.
What is a good replacement for powdered sugar?
A cooked flour and milk paste is an excellent replacement. This technique creates a wonderfully smooth, stable, and less cloyingly sweet icing. If you mastered the emulsification here, you'll find it easily adaptable.
Why is my homemade icing grainy?
Likely the sugar didn't fully dissolve. If you're not using a cooked paste method, ensure your granulated sugar is completely dissolved in the liquid before mixing with butter. For the cooked flour method, ensure the mixture reached a full boil.
How do I make my homemade icing smoother?
Use a cooked flour paste base. This process ensures the sugar dissolves completely and the starch gelatinizes, creating a naturally smooth and stable icing. It’s a technique similar to what you might employ for controlling texture in something like Marshmallow Dipped Chocolate with Sharp Shatter.
What makes icing too sweet?
Excessive amounts of powdered sugar. Traditional American buttercream relies heavily on powdered sugar for both sweetness and structure. Using a cooked flour paste method significantly reduces the sugar needed for sweetness and improves the texture.
Homemade Icing Recipe

Ingredients:
Instructions:
Nutrition Facts:
| Calories | 184 kcal |
|---|---|
| Protein | 1.0 g |
| Fat | 12.7 g |
| Carbs | 16.8 g |
| Fiber | 0.1 g |
| Sugar | 14.1 g |
| Sodium | 39 mg |
