Crispy Fried Chicken Skins Recipe
- Time: Active 10 minutes, Passive 25 minutes, Total 35 minutes
- Flavor/Texture Hook: Shatteringly crisp and salty
- Perfect for: budget-friendly snacking and keto friendly appetizers
- Why This Rendering Process Works
- Simple Ingredients for Big Flavor
- Essential Kitchen Gear for Crisps
- Step by Step Cooking Method
- Solving Common Cooking Problems
- Tasty Ways to Change Things
- Storing and Reheating Your Crisps
- Serving Ideas for the Family
- Myths vs Facts for Snacks
- Recipe FAQs
- 📝 Recipe Card
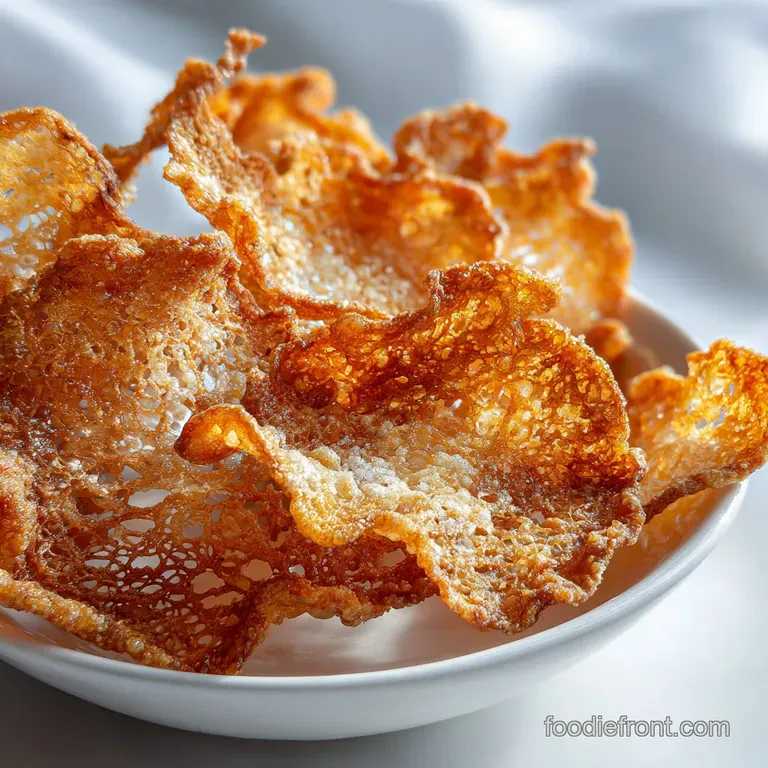
Can we just talk about the sound for a second? That high pitched, glass like crack when you bite into a piece of perfectly rendered poultry? It is honestly better than any store-bought chip I have ever had. I used to be that person who would strip the skin off a roast and feel a little guilty about the waste. Now?
I practically beg my butcher for their scraps because fried chicken skins are the ultimate kitchen treasure.
Whenever I am prepping my Baked Chicken Breast Recipe, I make sure to save every single scrap of skin. It is such a hearty, comforting way to make sure nothing goes to waste while giving the kids something to cheer about. It is the definition of budget smart cooking because you are taking something that is basically free and turning it into a snack that people pay a fortune for in fancy restaurants.
Trust me, once you smell that fat rendering down in your kitchen, there is no going back. We are talking about a deep, savory aroma that fills the house and brings everyone running to the stove.
It is a simple process, but there are a few tricks I have learned the hard way (like how to avoid a grease splattered face) that make all the difference. Let's get into how to make these the right way.
Why This Rendering Process Works
- Lipid Liquefaction: Slow heat melts the subcutaneous fat, allowing the protein structure to fry in its own oils.
- Moisture Evaporation: Driving out water content is what creates that signature "shatter" texture rather than a chewy bite.
- Protein Denaturation: Heat causes the collagen to tighten and then crisp, providing a sturdy, crunchy base for the spices.
Chef's Note: I always put my fried chicken skins into a cold skillet. If you drop them into a hot pan, they curl up instantly and trap moisture inside, which leads to a soggy result. Starting cold lets the fat melt out gradually so the skin can lay flat and crisp up evenly.
Simple Ingredients for Big Flavor
You do not need a massive pantry for this. We are keeping it simple and budget friendly, focusing on high impact spices that complement the natural richness of the chicken.
| Ingredient | Science Role | Pro Secret |
|---|---|---|
| 1 lb Chicken Skins | Primary Lipid Source | Pat them bone dry with paper towels first to prevent steam. |
| 1 tsp Fine Sea Salt | Moisture Extraction | Use Morton Fine Sea Salt for even coverage and fast dissolving. |
| 1/2 tsp Smoked Paprika | Flavor Depth | Adds a "bacon like" smokiness without the actual bacon cost. |
The Essential Grocery List
- 1 lb Chicken skins: Get these freshly removed from thighs or breasts. If you buy whole thighs for a One Pot Chicken recipe, just save the skins in a freezer bag until you have a full pound.
- 1 tsp Morton Fine Sea Salt: Why this? The fine grains penetrate the skin better than chunky kosher salt.
- 1/2 tsp McCormick Smoked Paprika: Why this? It gives that deep red color and earthy finish.
- 1/4 tsp Garlic powder: Use a standard granulated version for consistent flavor.
- 1/8 tsp Cayenne pepper: Just a pinch for a tiny bit of back of-the throat heat.
| Original Ingredient | Substitute | Why It Works |
|---|---|---|
| Smoked Paprika | Regular Paprika | Gives color but lacks the smoky "charred" flavor profile. |
| Sea Salt | Table Salt | Works fine but use 25% less as table salt is denser. |
| Chicken Skins | Duck Skins | Much higher fat content. Note: Needs longer rendering time. |
Essential Kitchen Gear for Crisps
You really don't need fancy gadgets, but a heavy bottomed pan is your best friend here. I swear by my Lodge Cast Iron Skillet because it holds onto heat so well, which prevents those annoying temperature drops when you are working in batches.
You will also want a set of metal tongs. I made the mistake of using a plastic spatula once and it just wasn't nimble enough to flip the smaller bits. A wire cooling rack is also non negotiable.
If you let the fried chicken skins cool on a flat plate or a paper towel, the bottom side will steam and lose its crunch. You need that air circulation to keep them airy and light.
step-by-step Cooking Method
- Dry the skins. Lay the 1 lb of chicken skins out on paper towels and pat them until they feel tacky, not wet.
- Trim the bits. Use kitchen shears to cut them into uniform 2 inch pieces. Note: They shrink by about 40% during cooking.
- Mix the spices. Combine the salt, smoked paprika, garlic powder, and cayenne in a small bowl.
- Season the skins. Toss the skins in the spice mix until every inch is lightly coated.
- Start cold. Place the skins in a single layer in a cold Lodge Cast Iron Skillet.
- Apply low heat. Turn the burner to medium low and let the fat start to pool.
- Flip carefully. Once the bottom is golden (usually around 12 minutes), flip each piece.
- Render the flipside. Cook for another 10 to 12 minutes until deep mahogany and bubbling stops.
- Drain the crisps. Move them to a wire rack immediately using tongs.
- Cool completely. Let them sit for 5 minutes to fully harden before serving.
Solving Common Cooking Problems
Why Your Skin Is Chewy
If the skins feel rubbery or tough, the heat was likely too high. This sears the outside before the internal fat has a chance to melt away. You want to see a slow, steady bubble, not a violent sizzle.
Why Your Skin Is Greasy
This usually happens if you don't drain them on a rack. If they sit in their own rendered fat while cooling, they re absorb it. Always get them up into the air as soon as they come out of the pan.
| Problem | Cause | Fix |
|---|---|---|
| Burnt Spices | Heat too high | Keep it at medium low; spices burn before fat renders. |
| Uneven Browning | Overcrowding | Cook in two batches so skins don't overlap. |
| Bitter Taste | Burnt Garlic | Add garlic powder in the last 5 minutes of cooking. |
Tasty Ways to Change Things
Honestly, the base recipe is a family favorite, but sometimes I like to shake things up. If you are doing a themed dinner, you can easily pivot the flavors.
- The Umami Blast: Swap the paprika and cayenne for a dusting of nutritional yeast and dried porcini powder. It tastes like a high end truffle chip.
- Nashville Style: Double the cayenne and add a teaspoon of brown sugar to the mix for that sweet heat combo.
- Air Fryer Fried Chicken Skins: If you want to walk away, put them in the air fryer at 190°C for 15 minutes, shaking the basket every 5 minutes. They come out a bit drier but still very crunchy.
If you are looking for more protein heavy snacks, these actually pair really well alongside a Beef Breakfast Sausage recipe for a high fat, low carb breakfast spread that keeps the whole family full until lunch.
Storing and Reheating Your Crisps
You can keep these in an airtight container at room temperature for about 2 days, but they rarely last that long in my house. If they do lose a bit of their "snap," don't throw them out! Just pop them back into a dry skillet or a toaster oven for 2 minutes.
For long term storage, they actually freeze surprisingly well. Put them in a freezer bag for up to 2 months. When you want a snack, just toast them straight from frozen. And please, whatever you do, do not toss that leftover fat in the pan! That is liquid gold (schmaltz).
Pour it into a glass jar and use it to roast potatoes or sauté onions for your next dinner. It adds a level of flavor that store-bought oil just can't touch.
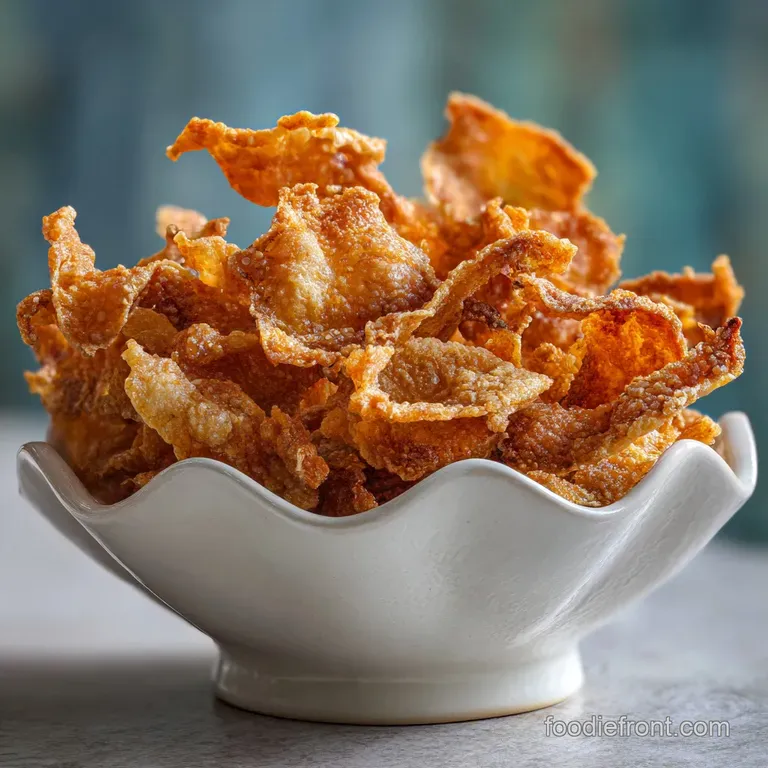
Serving Ideas for the Family
I love serving these in a big communal bowl during movie night. They are much more satisfying than popcorn and feel like a real treat.
- As a Salad Topper: Crumble them over a Caesar salad instead of croutons for a gluten-free crunch.
- Dipping Action: Serve them with a side of cool ranch or a spicy chipotle mayo.
- The Ultimate Garnish: Use a few pieces to top a bowl of creamy potato soup or even a ramen bowl.
Decision Shortcut
- If you want perfectly flat chips, place a second heavy pan on top of the skins while they render.
- If you want "popcorn" style curls, just let them fry freely in the skillet.
- If you want to save money, buy "family pack" chicken thighs, skin them yourself, and freeze the meat for later.
Myths vs Facts for Snacks
Myth: You need deep frying oil to get them crispy. Actually, the skin has so much internal fat that it essentially fries itself. Adding extra oil often leads to a heavy, greasy result that doesn't feel clean on the palate. The "dry fry" or slow rendering method is far superior.
Myth: You should salt them after they are done. While you can add a finishing touch, salting them before they hit the pan helps draw out moisture during the cooking process. This osmosis effect is what ensures the skin doesn't stay flabby.
Fresh vs. Shortcut Comparison
| Feature | Fresh home-made Skins | store-bought Pork Rinds |
|---|---|---|
| Flavor | Deep, authentic chicken taste | Often overly salty or artificial |
| Cost | Basically free (by product) | $4 - $6 per bag |
| Ingredients | 5 clean ingredients | Often contains preservatives/MSG |
There is something so rewarding about taking a "scrap" and turning it into a family highlight. These fried chicken skins are proof that you don't need a massive budget to eat like royalty.
Just a little patience, a heavy pan, and the willingness to let that fat render down into crispy, golden perfection. Give it a go this weekend your family will thank you!

Recipe FAQs
How to make fried chicken skins?
Start cold and render slowly. Pat the skins completely dry, season well, and place them in a cold cast iron skillet before turning the heat to medium low to allow the fat to melt out gradually.
How to make crispy chicken skins?
Yes, moisture removal is key. Ensure the skins are thoroughly dried with paper towels before seasoning, and drain them immediately onto a wire rack after frying so they don't steam.
How to make crispy chicken skins in the oven?
Yes, but rendering is better on the stovetop for texture. If using the oven, arrange the seasoned skins in a single layer on a baking sheet lined with parchment and bake at 200°C until all bubbling stops.
How to make crispy chicken skins in an air fryer?
Yes, this works well for a hands off approach. Set your air fryer to 190°C for about 15 minutes, shaking the basket every five minutes to promote even crisping.
How to make fried chicken skin stick?
Salt them before cooking to help the seasoning adhere. The salt draws out moisture, creating a tacky surface that locks in the paprika and garlic powder during the rendering process.
What if my chicken skins are chewy instead of crisp?
No, the heat was too high initially. If the pan sizzles violently, the outside sears before the internal fat renders fully, trapping moisture inside and leading to a rubbery texture.
Can I use previously frozen chicken skins?
No, use them fresh if possible. Frozen skins release excessive water when thawed, which significantly prolongs the rendering time and increases the risk of steaming rather than crisping.
Crispy Fried Chicken Skins

Ingredients:
Instructions:
Nutrition Facts:
| Calories | 158 calories |
|---|---|
| Protein | 13.2 g |
| Fat | 11.5 g |
| Carbs | 0.2 g |
| Fiber | 0.1 g |
| Sugar | 0 g |
| Sodium | 585 mg |
