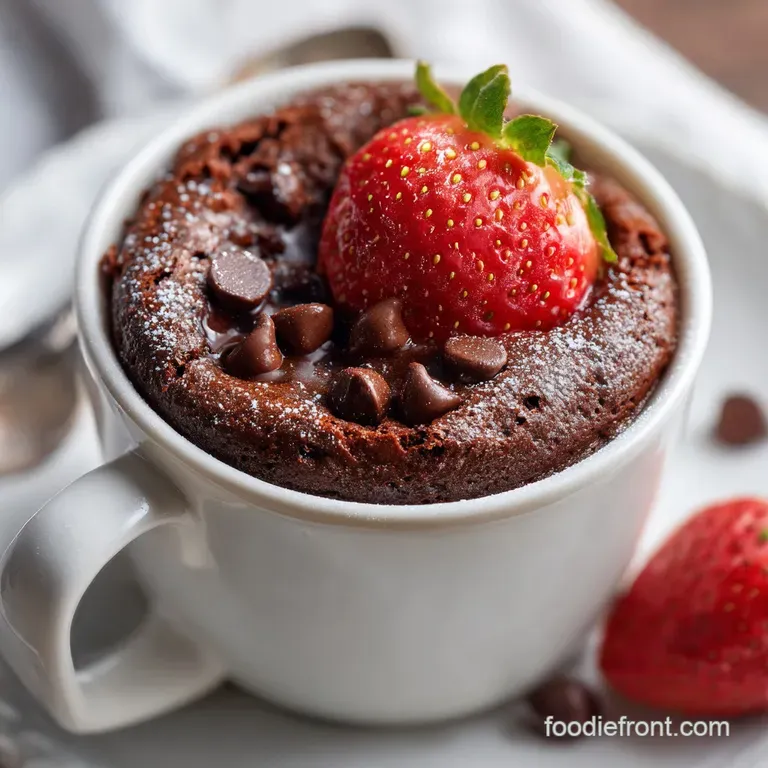
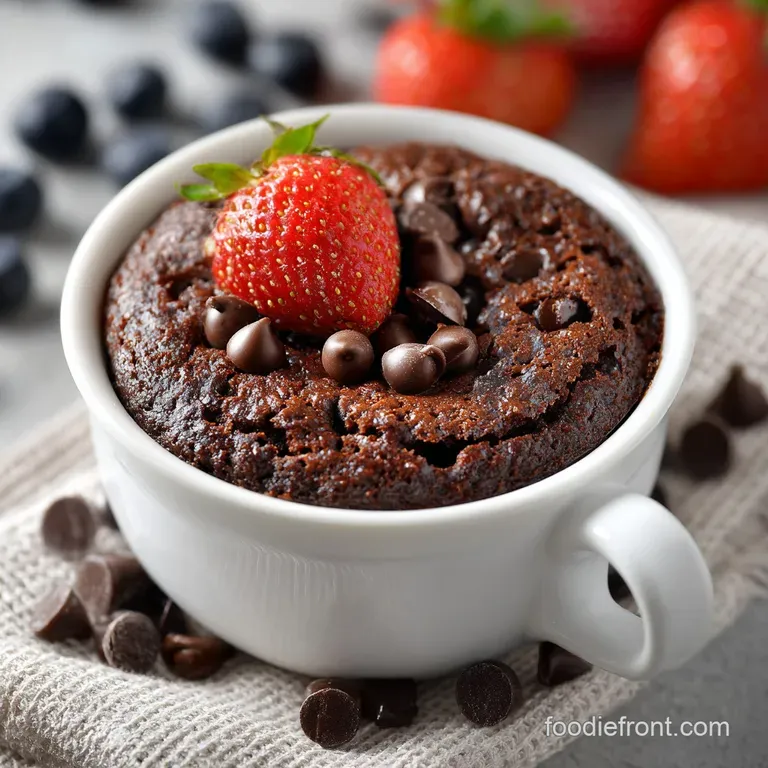
Chocolate Chip Mug Brownie: Fudgy and Molten
- Time: Active 2 minutes, Passive 1 minutes, Total 3 minutes
- Flavor/Texture Hook: Molten, fudgy, and intensely chocolatey
- Perfect for: Midnight cravings or impressive solo treats
- Create the Perfect Chocolate Chip Mug Brownie
- Why This Quick Method Works
- Ingredient Deep Dive and Specs
- Choosing Your Baking Essentials
- Necessary Kitchen Tools and Gear
- Step-by-Step Crafting Instructions
- Solving Common Brownie Problems
- Customizing Your Sweet Treat
- Debunking Microwave Baking Myths
- Keeping Your Leftovers Fresh
- Enhancing Your Presentation
- Recipe FAQs
- 📝 Recipe Card
Create the Perfect Chocolate Chip Mug Brownie
Have you ever wondered why most microwave desserts end up feeling like a bouncy rubber ball rather than a decadent treat? It is a frustration I know all too well, especially during those late night cravings when the thought of preheating a massive oven for forty minutes feels like a personal insult.
I remember my first attempt at this years ago in a tiny apartment; I basically made a chocolate flavored eraser. But after some trial and error, I found that the secret isn't just about the ingredients, but how you manage the intense heat of those microwave waves.
This recipe is designed to give you that specific, gooey middle satisfaction that you usually only get from a center cut piece of a traditional tray bake. We are going for a texture that is heavy on the fudgy side, almost like a warm ganache cake, rather than a light and airy sponge.
By focusing on the fat to flour ratio and a very specific resting period, we turn a simple mug of batter into something genuinely impressive that you would be proud to serve to a friend if you were willing to share it, that is.
The magic happens in how we bloom the cocoa powder directly in the melted butter. Most people just toss everything in and stir, but that leaves the cocoa tasting dusty and flat. When you whisk it into the hot fat first, you unlock those deep, roasted notes that make a brownie taste "expensive." Trust me, once you see that glossy syrup form in the bottom of your mug, you’ll know you are on the right track for a seriously silky result.
Why This Quick Method Works
Thermal Sink Insulation: Placing a concentrated pocket of chocolate chips in the center creates a dense zone that absorbs heat slower than the batter, ensuring a molten core.
Fat Based Bloom: Whisking cocoa into hot butter dissolves the solids immediately, preventing a grainy mouthfeel and intensifying the chocolate flavor.
Gluten Suppression: Using a fork to fold the flour only until the white streaks vanish prevents the "bouncy" texture common in over mixed microwave cakes.
Residual Heat Finish: A mandatory sixty second rest allows the starches to set without the continuous agitation of microwave energy, which keeps the crumb tender.
| Method | Time | Texture | Best For |
|---|---|---|---|
| Microwave | 1 minute | Molten & Velvety | Instant Cravings |
| Standard Oven | 20 minutes | Fudgy with Crust | Dinner Parties |
| Stovetop (Steam) | 15 minutes | Pudding like | Moist Center |
Choosing the right tool depends entirely on your patience level, but for a single serve treat, the microwave version is surprisingly superior because it prevents the edges from drying out before the middle is cooked. When you use an oven for a single mug, you often end up with a dry top layer.
The microwave cooks from the inside out, which is exactly what we want for that gooey center.
Ingredient Deep Dive and Specs
Component Analysis
| Ingredient | Science Role | Pro Secret |
|---|---|---|
| Dutch Process Cocoa | Flavor & Color | This cocoa is alkalized, meaning it dissolves better and tastes smoother than natural cocoa. |
| Unsalted Butter | Moisture & Fat | Melted butter provides a "short" crumb that feels rich on the tongue compared to oil. |
| Granulated Sugar | Structure & Syrup | As it heats, sugar turns into a syrup that binds the cocoa and keeps the brownie soft. |
| All Purpose Flour | Binding Agent | Provides just enough structure to hold the chocolate together without making it bread like. |
For this recipe, we are using very specific measurements to ensure the balance is just right. You'll need 1/4 cup (30g) of all purpose flour, 1/4 cup (50g) of granulated sugar, and 2 tablespoons (12g) of that unsweetened Dutch process cocoa powder for the base.
Don't forget the 1/8 teaspoon (0.7g) of sea salt; it is absolutely vital to balance out the sugar and make the chocolate pop.
For the wet components, grab 2 tablespoons (28g) of unsalted butter, which we will melt, 2 tablespoons (30ml) of whole milk, and 1/4 teaspoon (1.2g) of pure vanilla extract. Finally, the stars of the show are the 2 tablespoons (30g) of semi sweet chocolate chips.
We are going to divide those chips one tablespoon for the batter and one for that "thermal sink" we talked about earlier.
Choosing Your Baking Essentials
When it comes to the ingredients, the quality of your cocoa powder makes the biggest difference. While you can use standard natural cocoa, Dutch process cocoa (like Droste or Guittard) gives that dark, Oreo like color and a much milder acidity.
Since this brownie cooks so fast, there is no time for harsh flavors to mellow out, so start with the good stuff.
For the flour, stick to standard all purpose. If you try to use cake flour, the brownie might become too fragile and fall apart. If you want to dive into other textures, you might notice this recipe feels similar to my fudgy browkies which use a similar high fat ratio to get that signature bite.
- All purpose flour: (1/4 cup) Substitute with 1:1 gluten-free flour if needed. Why this? Provides essential structure for the mug shape.
- Dutch process cocoa: (2 tbsp) Use natural cocoa as a backup. Why this? Offers a smoother, darker, and more intense chocolate profile.
- Whole milk: (2 tbsp) Oat milk works well here too. Why this? Adds fat and moisture for a velvety mouthfeel.
- Unsalted butter: (2 tbsp) Salted butter is fine, just skip the extra salt. Why this? Creates a richer flavor than vegetable oil.
- Chocolate chips: (2 tbsp) Chopped chocolate bars are even better. Why this? Creates the molten pockets of liquid gold.
Necessary Kitchen Tools and Gear
You don't need a standing mixer or a rolling pin for this one. The most important "equipment" is actually the mug itself. You want a ceramic mug that holds between 10 and 12 ounces. If the mug is too small, the batter might overflow as it bubbles up. If it is too wide, the brownie will spread too thin and dry out.
A standard coffee mug is usually just right, but check the volume before you start.
You will also need a small whisk or even just a fork. A fork is actually better for the final stage because it allows you to incorporate the flour without whipping in too much air. Remember, we want a brownie, not a chocolate sponge cake.
A set of measuring spoons and a microwave are the only other things standing between you and dessert.
Chef's Tip: Use a mug with straight sides rather than a tapered bowl shape. This ensures the heat distributes evenly from the bottom to the top, preventing a "raw" bottom.
step-by-step Crafting Instructions
- Place the 2 tablespoons of unsalted butter into your 10-12 oz ceramic mug. Microwave in 15 second bursts until the butter is completely liquid and bubbling slightly.
- Immediately add the 2 tablespoons of cocoa powder and 1/4 cup of granulated sugar to the hot butter. Whisk vigorously until a dark, glossy syrup forms and no lumps remain. Note: This "blooms" the cocoa for deeper flavor.
- Pour in the 2 tablespoons of milk and 1/4 teaspoon of vanilla extract. Whisk again until the mixture is silky and fully emulsified.
- Add the 1/4 cup of all purpose flour and 1/8 teaspoon of sea salt. Use a fork to gently fold the ingredients until the white streaks just barely disappear.
- Stir 1 tablespoon of the chocolate chips into the batter to distribute them evenly throughout the mix.
- Take the remaining 1 tablespoon of chocolate chips and press them into the dead center of the batter. Use your fork to pull a tiny bit of batter over the top until the chips are completely hidden. Note: This creates the molten "thermal sink" center.
- Place the mug in the center of the microwave. Cook on high for 50 to 60 seconds until the edges look matte and set while the center is still slightly tacky.
- Remove the mug carefully (it will be hot!). Let the brownie rest on the counter for exactly 1 minute until the crumb stabilizes and the surface loses its wet sheen.
- Garnish with a tiny pinch of extra sea salt or a dollop of cream if you are feeling fancy. Serve immediately while the center is still liquid.
Solving Common Brownie Problems
Why is my brownie dry?
The most common culprit for a dry mug brownie is overcooking. Microwave wattages vary wildly. If yours is 1100 watts or higher, 50 seconds is usually plenty. If the top looks like a dry sponge, you have gone too far.
Next time, pull it out when the center still looks a little bit like wet batter; the residual heat will finish the job during the rest period.
Why is the texture rubbery?
Rubbery texture usually comes from over mixing the flour. When you stir flour into wet ingredients, you develop gluten. In a microwave, those gluten strands tighten up instantly, creating a "bouncy" feel. To fix this, stop mixing the second you don't see any more white flour.
A few tiny lumps are actually better than a perfectly smooth batter.
Troubleshooting Guide
| Problem | Root Cause | Solution |
|---|---|---|
| Overflowing Mug | Mug is too small or narrow | Use a 10-12 oz mug and don't double the recipe in one cup. |
| Gritty Texture | Sugar didn't dissolve | Whisk the sugar into the hot melted butter longer before adding flour. |
| Cold Center | Microwave hot spots | Place the mug on the edge of the rotating plate rather than the center. |
Common Mistakes Checklist
- ✓ Always use a microwave safe ceramic mug (avoid plastic or thin glass).
- ✓ Don't skip the salt; it is the only thing that makes the chocolate taste "real."
- ✓ Let the brownie rest for a full minute; it's part of the cooking process!
- ✓ Check your microwave wattage; higher power means shorter cook times.
- ✓ Use Dutch process cocoa if you want that deep, dark color.
Customizing Your Sweet Treat
One of the best things about this Chocolate Chip Mug Brownie is how easy it is to tweak based on what is in your pantry. If you want a bit of a caffeine kick, you can add half a teaspoon of espresso powder to the butter and cocoa mixture.
The coffee doesn't make it taste like a latte; it just makes the chocolate feel "louder" and more intense.
If you are a fan of that salty sweet combo, try stirring in a teaspoon of peanut butter or almond butter right before the final cook. Don't mix it in completely; just swirl it so you get distinct pockets of nut butter. For a more sophisticated drink pairing, I love having this with a small glass of Irish hot chocolate — it is a chocolate on-chocolate experience that is truly hard to beat on a cold evening.
Scaling and Adjustments
- Making it for two: Do not just double the ingredients in one mug. The microwave energy won't reach the center of a double sized batter effectively. Instead, make two separate mugs and cook them one after the other.
- Lowering the sugar: You can reduce the sugar to 3 tablespoons without ruining the structure, but the brownie will be noticeably less fudgy and more cake like.
- Vegan Swap: Use melted coconut oil instead of butter and any plant based milk. The result is just as decadent but with a slight hint of coconut.
| Servings | Flour | Butter | Choc Chips | Mug Size |
|---|---|---|---|---|
| 1 Person | 1/4 cup | 2 tbsp | 2 tbsp | 10 oz |
| 2 People | 1/2 cup | 4 tbsp | 4 tbsp | Two 10 oz mugs |
Debunking Microwave Baking Myths
One of the biggest myths is that "Microwaves bake from the inside out." Actually, microwave radiation mostly hits the outer layers and then the heat is conducted inward. This is why the edges of your mug brownie often set first.
By putting the chocolate chips in the center, we are protecting that middle zone from drying out while the edges firm up.
Another misconception is that you need eggs for a brownie to have structure. While eggs add height and a "cakey" feel, we don't need that for a single serve treat. In fact, skipping the egg is what gives us that dense, fudgy, almost truffle like consistency that makes this recipe so impressive.
Plus, it means you don't have to worry about the egg "scrambling" if the microwave gets too hot!
Keeping Your Leftovers Fresh
Honestly, this brownie is meant to be eaten within ten minutes of being made. However, if you find you can't finish it, don't just leave it on the counter. Cover the mug with plastic wrap to keep the moisture in. It will stay okay in the fridge for about 24 hours.
To reheat, just give it 10-15 seconds in the microwave any longer and it will turn into a rock.
If you have leftover cocoa powder or chocolate chips that you didn't use up, store them in a cool, dark place in airtight containers. Cocoa powder is particularly sensitive to moisture and can pick up "fridge smells" very easily.
For zero waste, if you have a little bit of batter left in the bottom of the bowl, you can scrape it into your morning coffee for a makeshift mocha!
Enhancing Your Presentation
To make this feel like a dessert from a high end bistro, we need to talk about color balance. A dark brown mug brownie can look a bit "monochrome" on its own. I recommend using three specific color accents to make it pop:
- Bright Red: A single fresh raspberry or a small spoonful of jam on top. Add this right before serving.
- Pure White: A dollop of unsweetened whipped cream or a tiny scoop of vanilla bean ice cream. The contrast against the dark chocolate is stunning.
- Gold: A quick drizzle of salted caramel sauce. The amber color adds a warm, professional glow to the dish.
By adding these garnishes, you transform a three minute microwave snack into a velvety, impressive dessert that satisfies the strongest sweet tooth. The combination of the warm, fudgy center and the cool toppings creates a sensory experience that is far better than any store-bought alternative.
Just remember to use a clean mug with no drips on the side for the best visual impact!

Recipe FAQs
Why is my mug brownie overflowing during cooking?
Use a larger container. You must use a 10-12 oz ceramic mug to allow space for the batter to rise without spilling over the sides.
How to ensure the center cooks evenly in the microwave?
Place the mug on the edge of the microwave turntable. Rotating the mug away from the center avoids the dead zone in the middle of the microwave, helping the batter cook more consistently.
How to fix a gritty, sandy texture in the brownie?
Whisk the sugar and hot butter longer. If you enjoyed mastering the Bark for 24 Servings recipe used here, you will find that whisking the sugar until it is fully dissolved into the melted butter before adding the flour is essential for a silky crumb.
Is it true I can substitute the whole milk with water?
No, this is a common misconception. Whole milk provides necessary fat and protein that contribute to the tender, moist crumb, which water simply cannot replicate.
How to tell when the brownie is perfectly finished?
Look for set edges and a slightly tacky center. The edges should appear firm, but the middle needs to look moist and slightly underdone, as it will continue to set during the 1-minute resting period.
Why is my brownie dry and rubbery?
Avoid overmixing the flour. You should fold the flour in only until the white streaks disappear, as overworking the batter develops excess gluten that turns your soft brownie into a tough, chewy cake.
How to get the best flavor from the cocoa powder?
Bloom the cocoa into the hot butter. Whisking the cocoa powder directly into the bubbling, melted butter before adding any other liquid creates a dark, glossy syrup that intensifies the chocolate notes.
Chocolate Chip Mug Brownie

Ingredients:
Instructions:
Nutrition Facts:
| Calories | 694 kcal |
|---|---|
| Protein | 7.5 g |
| Fat | 33.6 g |
| Carbs | 100.3 g |
| Fiber | 5.2 g |
| Sugar | 67.4 g |
| Sodium | 305 mg |
